Nylas is a platform that enables email and scheduling functionality in your application. To get started with Nylas and configure the system token, follow these steps:
-
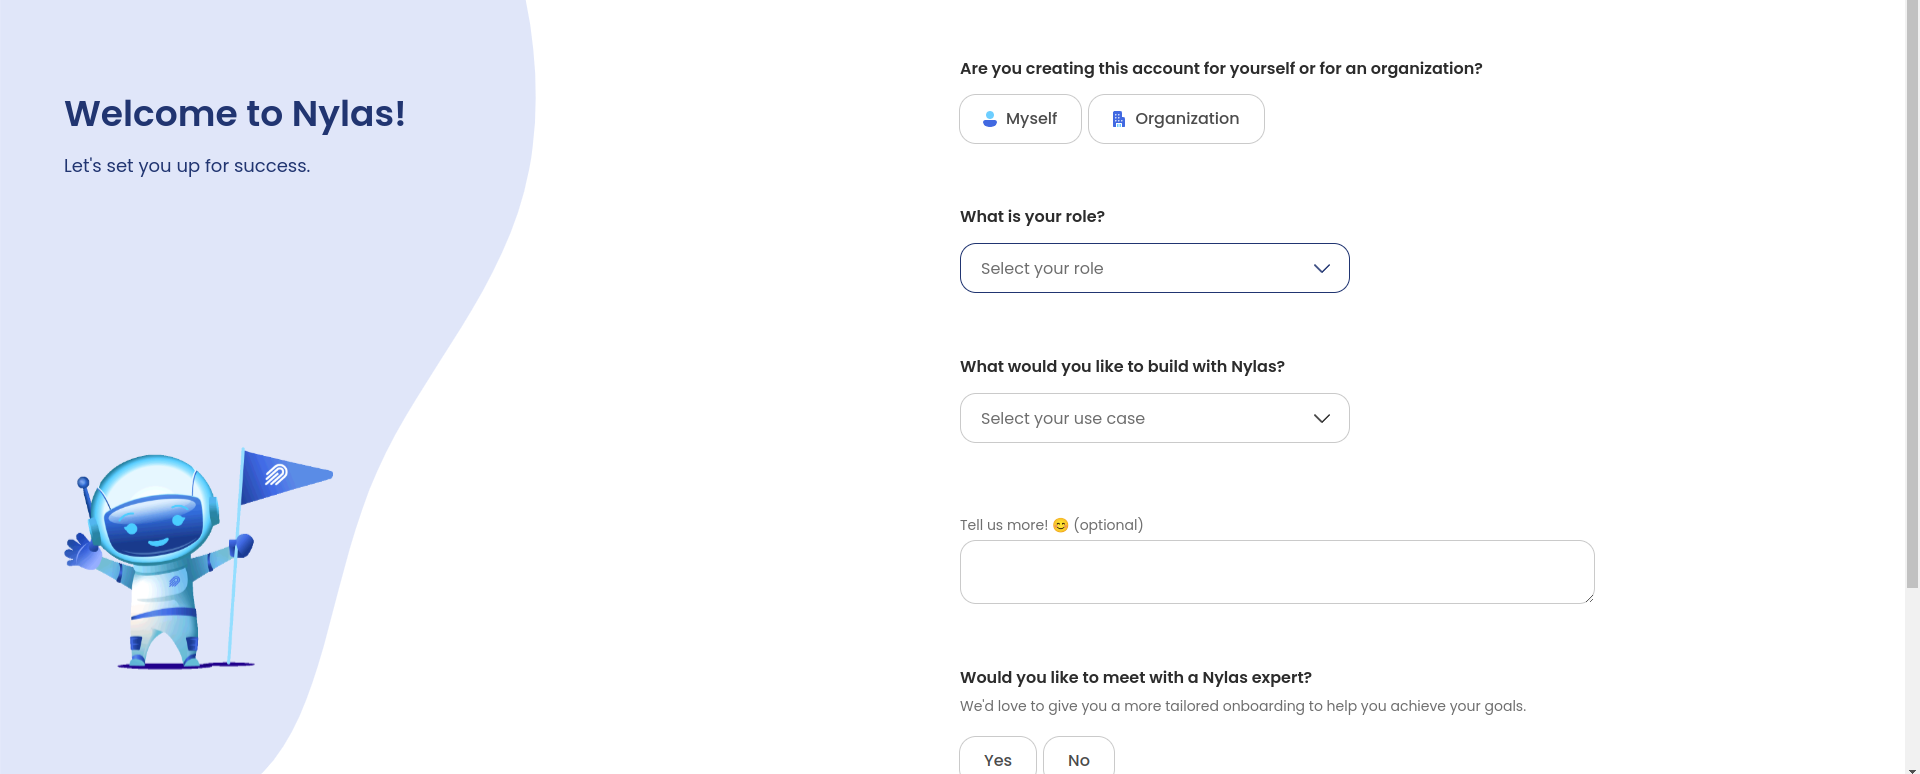
Visit the Nylas Website: Go to the official Nylas website at https://dashboard.nylas.com/sign-in to create a Nylas account if you don't already have one.
-
Registration Process: Complete the registration process by filling in the necessary information.
-
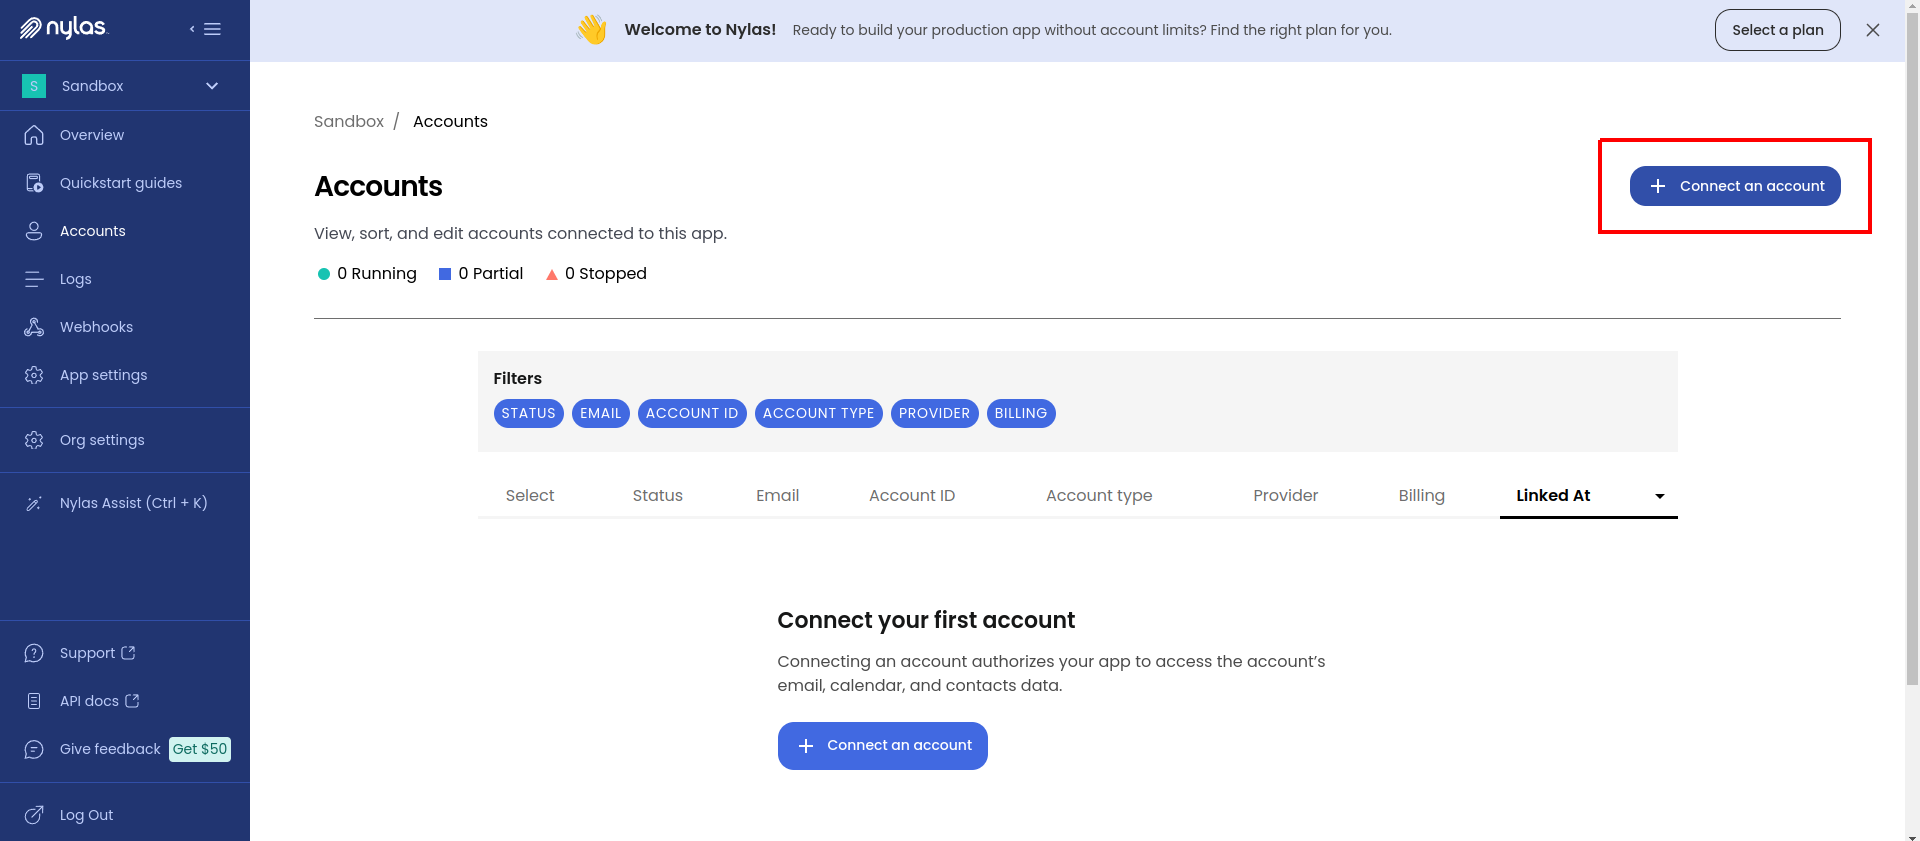
Connect an Account: After successfully creating your Nylas account and logging in, go to the "Account" tab or section in the Nylas dashboard.
-
Connect an Email Account: Click on "Connect an Account" to integrate an email account with Nylas. Follow the on-screen instructions to connect the desired email account(s) that your application will interact with.
-
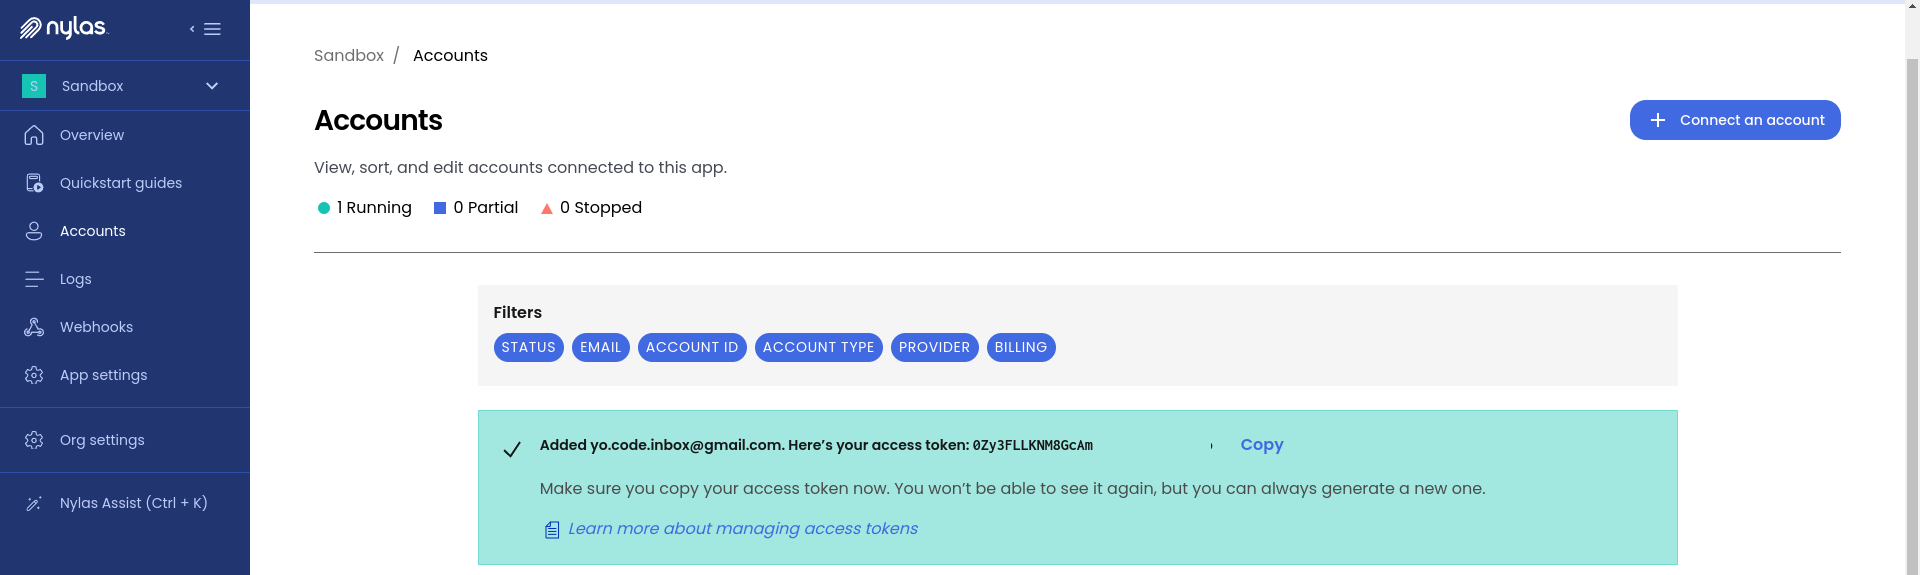
Copy the Access Token: Once you have successfully connected your email account(s), Nylas will provide an access token. Copy this access token as you will need it to configure your application.
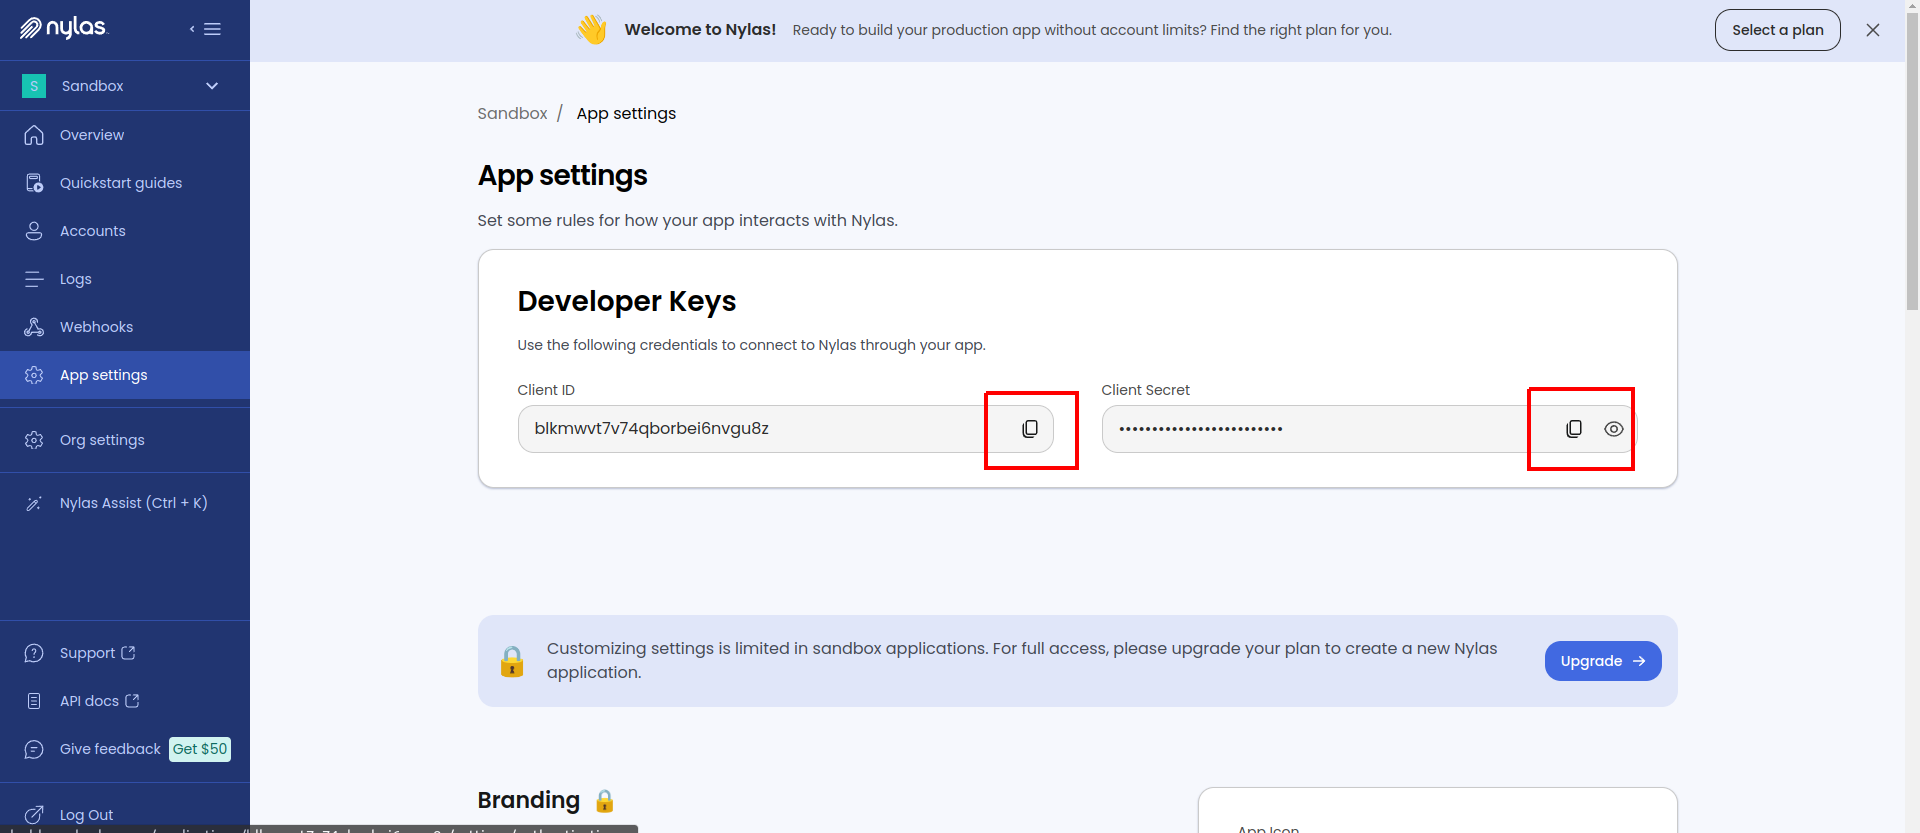
To integrate Nylas into your application, you need to set up the Nylas Client ID and Client Secret in your project's settings.
- Access App Settings: In the Nylas dashboard, navigate to the "App Settings" section. This is where you can manage your application's configuration.
Now that you have your Nylas project set up, you need to set the Client ID, Client Secret, and System Token in your application:
-
Set the Nylas Client ID, Client Secret, and System Token: Open your project's configuration file or
.envfile, where you store environment variables. -
Add the Nylas Client ID , Client Secret, and System Token: In your configuration file, add the following environment variables, replacing
<Your_Nylas_Client_ID>,<Your_Nylas_Client_Secret>, and<Your_Nylas_System_Token>with the actual values you obtained from the Nylas dashboard:NYLAS_SYSTEM_TOKEN=<Your_Nylas_System_Token> NYLAS_CLIENT_ID=<Your_Nylas_Client_ID> NYLAS_CLIENT_SECRET=<Your_Nylas_Client_Secret>
- Save the changes to your configuration file.
By setting the NYLAS_CLIENT_ID, NYLAS_CLIENT_SECRET and NYLAS_SYSTEM_TOKEN environment variables, your application will have the necessary credentials to authenticate and interact with the Nylas API for email and scheduling functionality.