By now you have surely drawn your fair share of ellipses, rectangles and lines. Let's explore how to add images to the canvas in p5.js
A small amount of setup will be required to display images on the canvas.
First, the images files will need a place to live in our project. Use the mkdir command to create a directory called images.
In that folder you can put the image files you will be working with.
You can right click the image below and save to your computer and then drag into cloud9. Make sure you save it as something easy to type and remember, try cactus.jpg

Just because the image-file is now in our project doesn't mean it's loaded into p5. We want to tell p5 to load this image just before the setup() function is called so if we try to draw the image on the canvas, it's already loaded.
Think for a minute about an event like a mouse click. At the moment the event happens, a function called mouseClicked() is triggered. The same way that works, there is a function called preload() that is triggered exactly at the moment just before setup() is called. Let's add that function to some starter code that should otherwise look pretty familiar.
function preload() {

}

function setup() {
  createCanvas(300, 300);
}

function draw() {
  background(0);
}
Inside of preload we will need to load in our image and store it in a variable. Since we'll definitely need to use this variable later, let's make it a global variable that we assign a value to in preload.
To do this we will need to use a function called loadImage that takes an argument of the path to file we want to load.
Make sure you put the file path in quotes and have no typos.
The path for a file called cactus.jpg that is inside of a folder called images will be "images/cactus.jpg"
var cactus;

function preload() {
  cactus = loadImage("images/cactus.jpg")
}

function setup() {
  createCanvas(300, 300);
}

function draw() {

}The only thing left to do is to get this image onto the canvas. Let's draw one wherever we click the mouse.
The function we want to use is called image.
For arguments it takes the variable of the loaded image, and, like rect, the x and y coordinates of the top left corner.
Add in this function
function mouseClicked() {
  image(cactus, mouseX, mouseY);
}
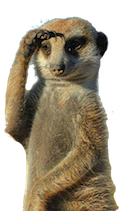
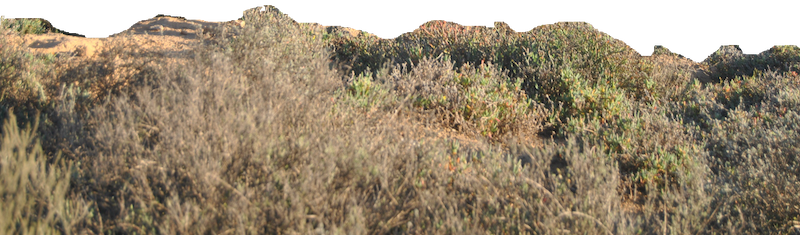
Perhaps you noticed that when a new cactus was added and it overlapped an old cactus you could see the white background rectangle surrounding it. Images are rectangles, rows and columns of pixels. To have some of those pixels be translucent your image file would have to be in the .png format, a .jpg format cannot handle translucent pixels. You'll actually see an example of .png files with translucent pixels below
Add these three images to you images folder to recreate the gif above.
The meerkat should move with vertical movement of the mouse and the canvas size should be 800 by 400
Take pictures of yourself looking straight ahead and in at least 2 other directions. When the appropriate arrow key is pressed your avatar should look in that direction. When no key is pressed you can go stare straight ahead

You could expand upon this idea by making yourself walk around in a room like a video game character.
Find or take a picture of an empty room and use the arrow keys to make your character move around the screen.
As a bonus, use multiple images of yourself facing in different directions.