UTK leverages several spatial packages, such as Geopandas, OSMnx, Osmium, Shapely. To facilite the installation of UTK, we have made it available through pip, only requiring the following commands in a terminal / command prompt:
pip install utkUTK requires Python 3.9, 3.10, or 3.11 (there is an issue with 3.12 that is on our TODO list to solve). If you are having problems installing UTK in Mac OSX because of Osmium, make sure you have CMake installed as well (e.g., through conda or Homebrew). UTK has been tested on Linux (Ubuntu 23.04), Windows 10 & 11, and MacOS 13.
A detailed description of UTK's capabilities can be found in our paper, but generally speaking UTK is divided into two components: a backend component, accessible through UTK's Python library, and a frontend component, accessible through a web interface.
UTK's backend is available through our Python library. For example, using a Jupyter Notebook, it can be imported with:
import utkTo download data for Manhattan, NY, you only need to then:
uc = utk.OSM.load('Manhattan, NY', layers=['surface', 'parks', 'water', 'roads'])
uc.save('./manhattan')
This will create a new folder (manhattan) with the downloaded and parsed OSM data. On top of that, UTK also offers functionalities to load data from shapefiles (utk.physical_from_shapefile), csv files (utk.thematic_from_csv), dataframes (utk.thematic_from_df), and also accumulate sunlight access values (utk.data.shadow). A detailed description of UTK's Python API can be found here.
An overview of the Python-based UTK API can be found here.
Currently supported simulations:
- Shadow casting: To run this simulation, your system will need to support Plotoptix (see here). To use the other functionalities from UTK, your system doesn't need to support Plotoptix.
UTK's frontend is available through the utk command. After the pip installation is complete, you can check a toy example with the following commands:
utk exampleUTK's toy example will then be accessible through localhost:5001. After accessing it using a browser, you should see a grammar-defined visualization showing sunlight access per building:

Beyong the simple example, you can also use the utk command to start and stop UTK's server:
utk start
utk stop
The utk command takes the following arguments:
usage: utk [-h] [-d [DATA]] [-b [BUNDLE]] [-g [GRAMMAR]] [-a [ADDRESS]]
           [-p PORT]
           {start,list,stop,example}

The Urban Toolkit

positional arguments:
  {start,list,stop,example}
                        Start, list or stop utk servers, or start server with
                        a simple example.

optional arguments:
  -h, --help            show this help message and exit
  -d [DATA], --data [DATA]
                        Path to data folder.
  -b [BUNDLE], --bundle [BUNDLE]
                        Path to app bundle (defaults to installed utk bundle).
  -g [GRAMMAR], --grammar [GRAMMAR]
                        Path to grammar JSON file, if different from
                        [DATA]/grammar.json (default: [DATA]/grammar.json).
  -a [ADDRESS], --address [ADDRESS]
                        Server address (default: localhost).
  -p PORT, --port PORT  Server port (default: 5001).
  -w, --watch           Watch folders, and re-build if there are changes.
Even though we offer support for a variety of arguments, most users will simply need to run the following to use data stored in a folder called ./data/:
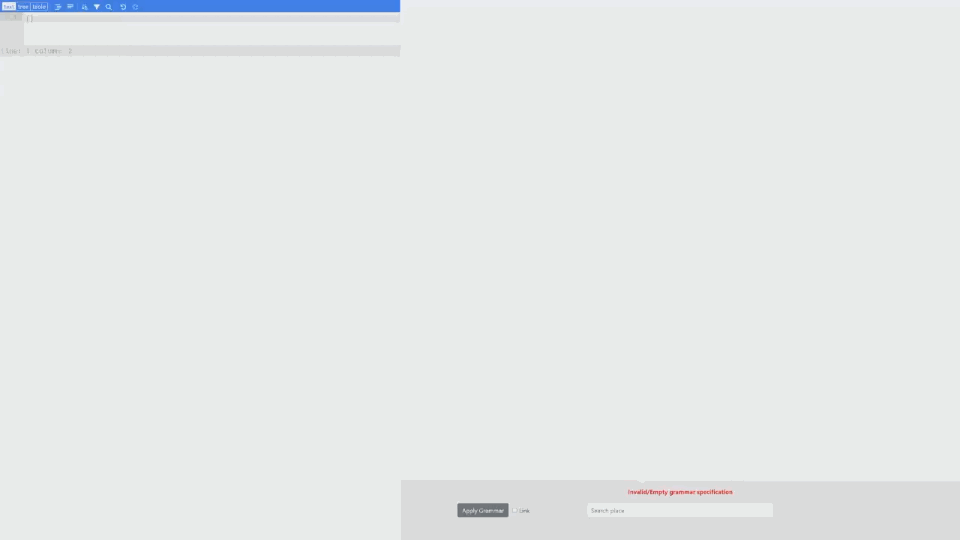
utk start --data ./dataAfter starting UTK's server and opening localhost:5001 on a browser, you will see UTK's main interface, composed of a grammar editor (left) and map viewer (right). Adding new elements to the grammar specification on the right (e.g., new plots, new data) will automatically update the map viewer:
A detailed overview of the grammar can be found here.
For a simple introductory example check this tutorial.