by Steve for NTU Open Source Society & iNTUition 2018
This workshop assumes some knowledge of Python.
Disclaimer: This document is only meant to serve as a reference for the attendees of the workshop. It does not cover all the concepts or implementation details discussed during the actual workshop.
Please raise your hand any time during the workshop or email your questions to me later.
For errors, typos or suggestions, please do not hesitate to post an issue. Pull requests are very welcome! Thanks!
In this workshop, we'll be building a server which allows us to run applications that communicate with the outside world.
This will be hosted entirely on our own machines!
- Download a text editor of your choice. I strongly recommend either:
- Download the following required Python 3.6.x packages (can use
pip install): - Download ngrok
- Don't download this project folder. We will be building everything from scratch.
On Linux or Mac OS X, open terminal. Navigate to a directory of your choice and enter:
django-admin startproject newproject. Leave terminal running.
On Windows, open cmd. Navigate to the directory of your choice and enter:
"django-admin.exe" startproject newproject
You should see a new folder called newproject in the directory.

Note: ls is Linux/MacOS command. The Windows equivalent is dir
Still on terminal/cmd, enter cd newproject to get into the newproject folder. Enter ls and should see a new project folder, and a manage.py file.
At this stage, enter python manage.py runserver to start the server. This initiates a new server on your machine, with the default address 127.0.0.1, and port 8000.

Now, if you visit 127.0.0.1:8000 on your web browser, you will see the following page:

In the terminal/cmd, use Ctrl + C to stop the server.
Congratulations! You now have a working local Django server! Time to add some cool applications, you handsome devil you.
To create an application, we will execute the following command in the terminal/cmd, in the directory where manage.py is:
python manage.py startapp newapp
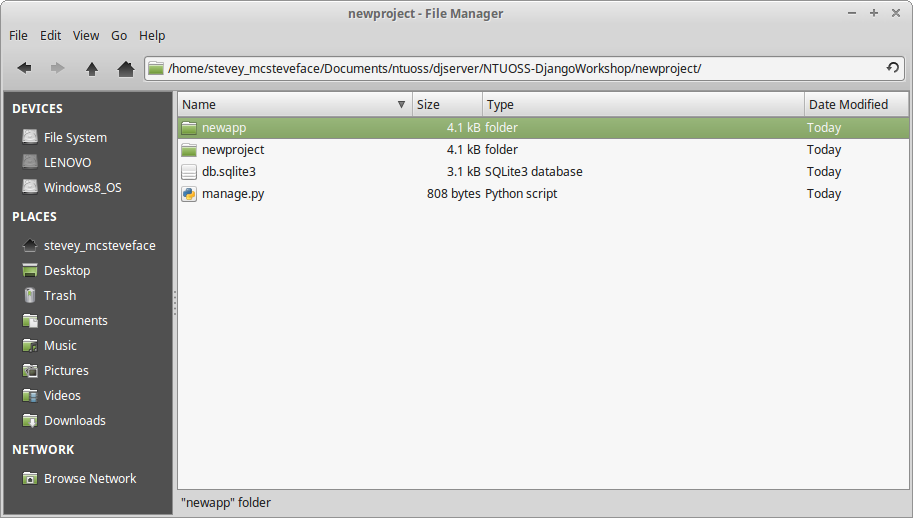
A new folder should appear, with the name newapp.
After creating and application, we have to tell Django to use it. We need to edit the file newproject/settings.py. Find INSTALLED_APPS and add newapp just above ].
# in newproject/settings.py
INSTALLED_APPS = [
    'django.contrib.admin',
    'django.contrib.auth',
    'django.contrib.contenttypes',
    'django.contrib.sessions',
    'django.contrib.messages',
    'django.contrib.staticfiles',
    'newapp',
]
Next, we have to specify a list of addresses/URLs that may be used to access our server. In the same newproject/settings.py file, find ALLOWED_HOSTS (right above the previous part), and add in some addresses.
ALLOWED_HOSTS = ['127.0.0.1']This lets our server know that anyone who looks up the address 127.0.0.1 is trying to interact with it.
Note: 127.0.0.1 is the default 'home' address/url for our machine's local server. We can also change it to the IP address assigned by our router.
We also have to tell our server to assign a URL to our app. This is so that our app will be accessible to the outside world. For that, we need to edit the file newproject/urls.py. Find urlpatterns and edit it to this:
# in newproject/urls.py
from django.conf.urls import url, include
from django.contrib import admin

urlpatterns = [
    url(r'^admin/', admin.site.urls),
    url(r'^newapp', include('newapp.urls'))
]
Now, whenever our server gets an external request for 127.0.0.1:8000/newapp, it recognises the newapp portion, and forwards the information to our app.
Now, we have to create URLs for our app. In the newapp folder, create a new file urls.py, and enter the following:
# in newapp/urls.py
from django.conf.urls import url
from . import views

app_name = "newapp"

urlpatterns = [
    url(r'^$', views.request_msg, name='request_msg'),
]
views here contains the 'main logic' of our app. If our app encounters a specific request, it will call a specific function from views.py.
The r'^$' portion is a regex (regular expression) statement. The ^ marks the start, and the $ marks the end, and everything in between is used as the basis for comparison. In this case, we have nothing in between.
Now, when our server receives a call to 127.0.0.1:8000/newapp, it calls our app newapp, whose urls.py then calls views.py and executes its request_msg function.
What request_msg function? We don't have a request_msg function in views.py!
Hey, don't worry about it. Our next step is to edit views.py, and change it to the following:
# -*- coding: utf-8 -*-
# in newapp/views.py
from __future__ import unicode_literals

from django.http import HttpResponse, HttpResponseRedirect
from django.shortcuts import render, redirect
from django.utils import timezone
from django.urls import reverse

# Create your views here.

def request_msg(request):
    return HttpResponse("English can be weird. It can be understood through tough thorough thought, though.")
Now, start the server with python manage.py runserver.
In your web browser, go to 127.0.0.1:8000/newapp. You should see the following:

Okay, so you've got a cool server. But right now it only exists on your own computer. What good is that?
Okay, I heard your concerns. No worries. In this section we'll open up our server to people and machines who are connected on the same network.
We'll start by stopping our server with Ctrl+C.
Next, we'll have to figure out our internal IP address.
On terminal, run ifconfig.
 Grab the
 inet addr of your machine.
On cmd, run ipconfig.
 Grab the
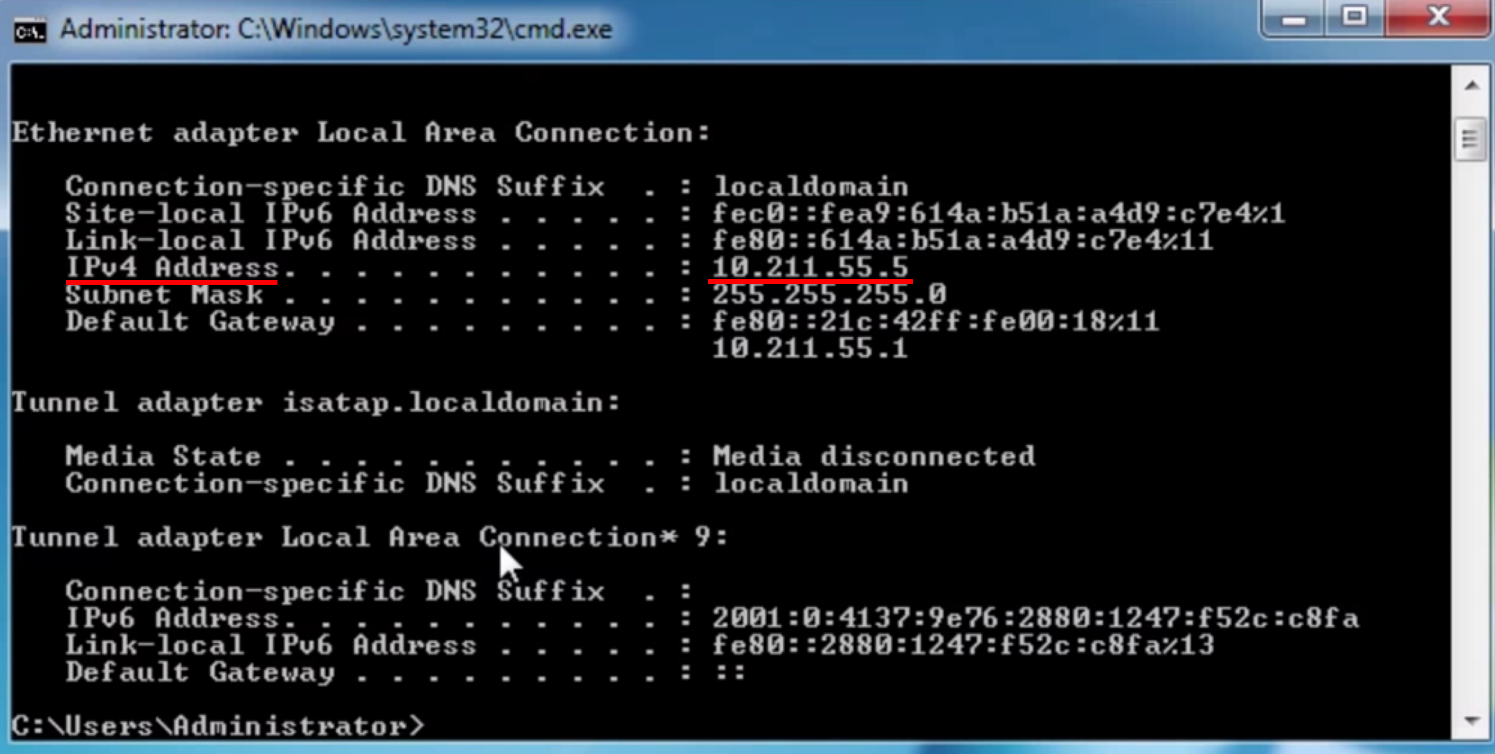
 IPv4 Address of your machine.
We can see that in my own home network, my machine is assigned the address of 172.24.1.134* by my router. This will probably change when you're connected to a different network.
*Note: Placeholder IP address!
Now, we'll have to tell django to let other network users access our server using 172.24.1.134*.
Just like in 1.4, we're gonna add this address into newproject/settings.py file, in ALLOWED_HOSTS.
ALLOWED_HOSTS = ['127.0.0.1', '172.24.1.134']Save and exit.
*Placeholder IP address!
Now, let's start our server again, with python manage.py runserver 172.24.1.134:8000. Notice we specified the address 172.24.1.134, and port 8000.
Let's take a look at 172.24.1.134:8000, shall we?
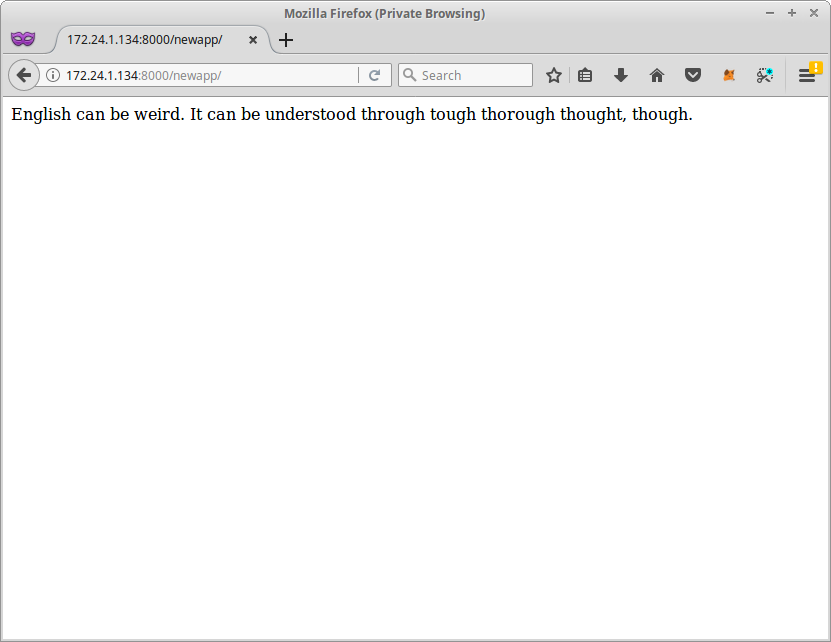 Wow, that's really cool!
What's that? You're not convinced that it actually shows up on other devices in the same network?
Well, my phone is connected to the same network as my computer right now (see that little wifi thing at the top?). Let's see if it can access the same server.
 Hey what do you know! Looks like it can. Our work is done.
Stop the server any time with Ctrl+C.
Our work is not done.
Now, we have a local server running on port 8000. We want to open up this port to the world. With that, we use the ngrok tool.
On terminal, run ngrok http 8000.
Windows users: If you don't have ngrok in your PATH, navigate to the folder with the ngrok.exe file, and run ngrok.exe http 8000.
i.e. C:\Users\User1\Downloads\ngrok.exe http 8000
You should be greeted with the following screen

That thing underlined in red? That's the url to my fancy server. But don't go Ctrl+C/Ctrl+Z-ing just yet! We can't access it right now. I mean, you can go ahead and do that. But nothing good will come of it.
Take note of that address. Leave ngrok running.
Note: This URL changes every time you start ngrok. They say no two URLs of the same string have been observed in the wild...
The smart ones would have realised: we have to once again change up the newproject/settings.py file. In ALLOWED_HOSTS, add in the custom ngrok address.
ALLOWED_HOSTS = ['127.0.0.1', '172.24.1.134', 'db7a5975.ngrok.io']Save and exit.
Now, let's start our server again, with python manage.py runserver. This will leave it running at the default 127.0.0.1:8000. This is because ngrok will forward the local host address 127.0.0.1 to the world.
Let's take a look at db7a5975.ngrok.io, shall we?
 Nice.
Nice.
What's that? You're not convinced that it actually shows up on other devices in other networks?
Well, now my phone is connected to the mobile data network (see that little '4G' thing at the top?). Let's see if it can access the same server.
 Oh look, it can. What a surprise.
Stop the server any time with Ctrl+C.
This is nice and all, but what do I do with this security risk of a server that I'd just made?
The answer is, anything you choose, mate!
Let's build a simple, silly adder. For the slower ones out there, an adder is something that adds numbers together. For this we'll just add two numbers.
To interact with the server, we usually send it a json package.
What is a json? It's kinda like a python dictionary, with keys and a value assigned to each key.
In our case, it will look something like this:
{
  "number1" : 2,
  "number2" : 5
}
Our server will add the values of number1 and number2 together and hopefully give us 7.
In the newapp folder, create a new file called adder.py, and fill it with just this:
# in newapp/adder.py
def addNum(package):
    answer = 0
    for num in package:
        answer += package[num]
    return answer
This takes a dictionary, sums up all the values associated with each key.
Now, we'll do some modifications to the newapp/views.py file. First, we'll import our adder.py:
from . import adderNext, we'll edit the request_msg() function:
def request_msg(request):
    if request.method == 'GET':
        data = request.GET
    elif request.method == 'POST':
        data = request.POST
    else:
        return HttpResponse("No Request")
    if data == {}:
        return HttpResponse("Nothing to add here.")
    pack = dict(data)
    package = {}
    statement = ''
    for x in pack:
        try:
            package[str(x)] = float(pack[x][0])
            statement += str(pack[x][0]) + ' + '
        except:
            package[str(x)] = 0
    statement = statement[:-3] + ' = '
    answer = adder.addNum(package)

    return HttpResponse(statement +str(answer))
This just "packages" our json into a prettier dictionary, so that our addNum() function can easily parse it.
Now, save and exit.
Go to your browser, and type in db7a5975.ngrok.io/newapp/. You should see the following page:
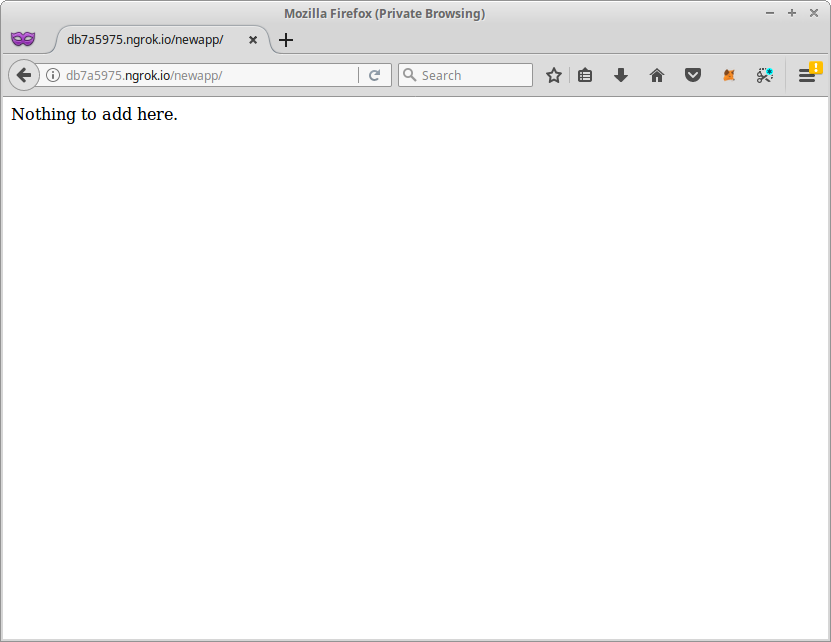
Well of course! We haven't entered the numbers we want to add.
We wanted to know what is 2 + 5. Now, at the end of your url, add in ?x=2&y=5.
i.e. db7a5975.ngrok.io/newapp/?x=2&y=5
This is equivalent to sending a package of
{
  "x" : 2,
  "y" : 5
}
To the server with address db7a5975.ngrok.io/newapp/.
Let's have a look at our answer. Hopefully it's 7.

Okay, so it says 7.0. But that's just being picky. I think I did pretty good here.
Also, I lied about only adding two numbers. My server can actually add as many numbers as you can throw at it (the smarter ones would have realised it).
 Cool! Now I can additions stuff pretty much anywhere with an internet connection. Frees up my brain to do other stuff. Like subtractions.
As a programmer, we may want to use this new web app in our other projects. Let's create an empty python script newscript.py, and import the following:
import requestsYou can place this file anywhere you like.
Next, we'll add in the url of our app. You can use either the local or global addresses.
url = 'http://127.0.0.1:8000/newapp'Then, we'll add in the headers. They are supposed to be structured like the json packages. But in this case we'll manually type out the string, as
string = '?x=2&y=5'Finally, we'll make a request to our app and print the results
r = requests.get(url+string)
print(r.text)
You should get the the same line as you did in your browser

This is potentially some pretty powerful stuff, what we've built today.
But there are some security concerns with this build. I don't know about you, but I wouldn't trust an unsecured server with my wife.
According to the good folks at django:
DO NOT USE THIS SERVER IN A PRODUCTION SETTING. It has not gone through security audits or
performance tests. (And that’s how it’s gonna stay. We’re in the business of making Web
frameworks, not Web servers, so improving this server to be able to handle a production
environment is outside the scope of Django.)
Good luck!
Thanks, django!
Thanks, NTU Open Source Society!
Thanks, Linux Mint!