By Steve
A guide on how to create and access a Ethereum wallet. This is meant to be as lightweight and accessible as possible.
Disclaimer: This document only covers the MetaMask plugin. There are other Ethereum wallet software available, such as Mist and Parity. For more information, Google them.
The Ethereum token ETH is a blockchain-based, and is considered by many to be a cryptocurrency.
To store and transfer ETH, all you need is an public key (your personal address that is assigned a value of ETH, like some kind of "wallet") and a private key (a "secret password" that is required for sending your ETH to other addresses).
With just your address and private key, you can access your wallet, receive and transfer ETH in any of the reputable Ethereum wallet software/services.
For this guide, we will be using the MetaMask plugin for Google Chrome and Firefox. Unlike some other software, MetaMask does not require downloading the entire blockchain and setting up your own node.
You can still choose to set up
-
On Google Chrome or Firefox, download and install the MetaMask plugin.
-
Click on the little MetaMask
Foxicon, create your account. This account will be tied to that specific browser on your computer.
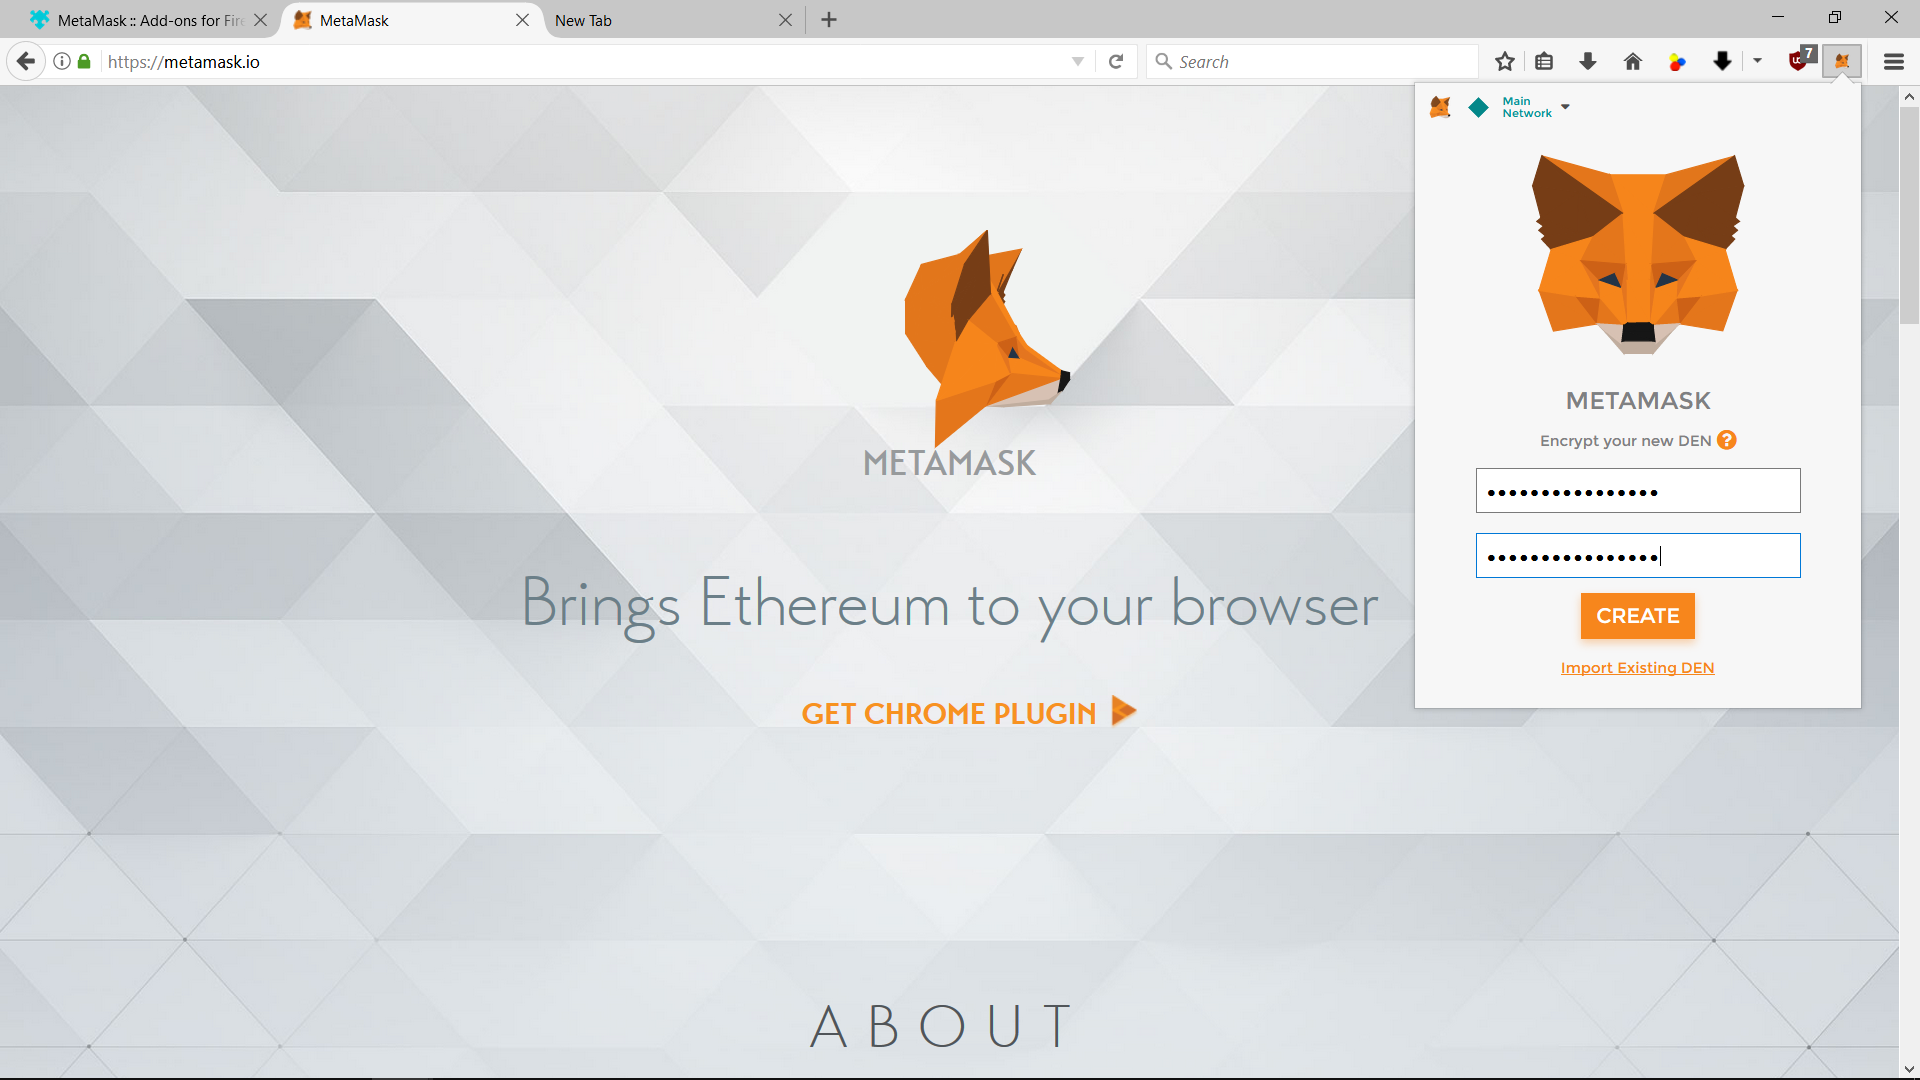
If you already have an account with MetaMask, you may enter your twelve-word seed to access it. 
Once you're done, you should see an account profile, with a part of your address. 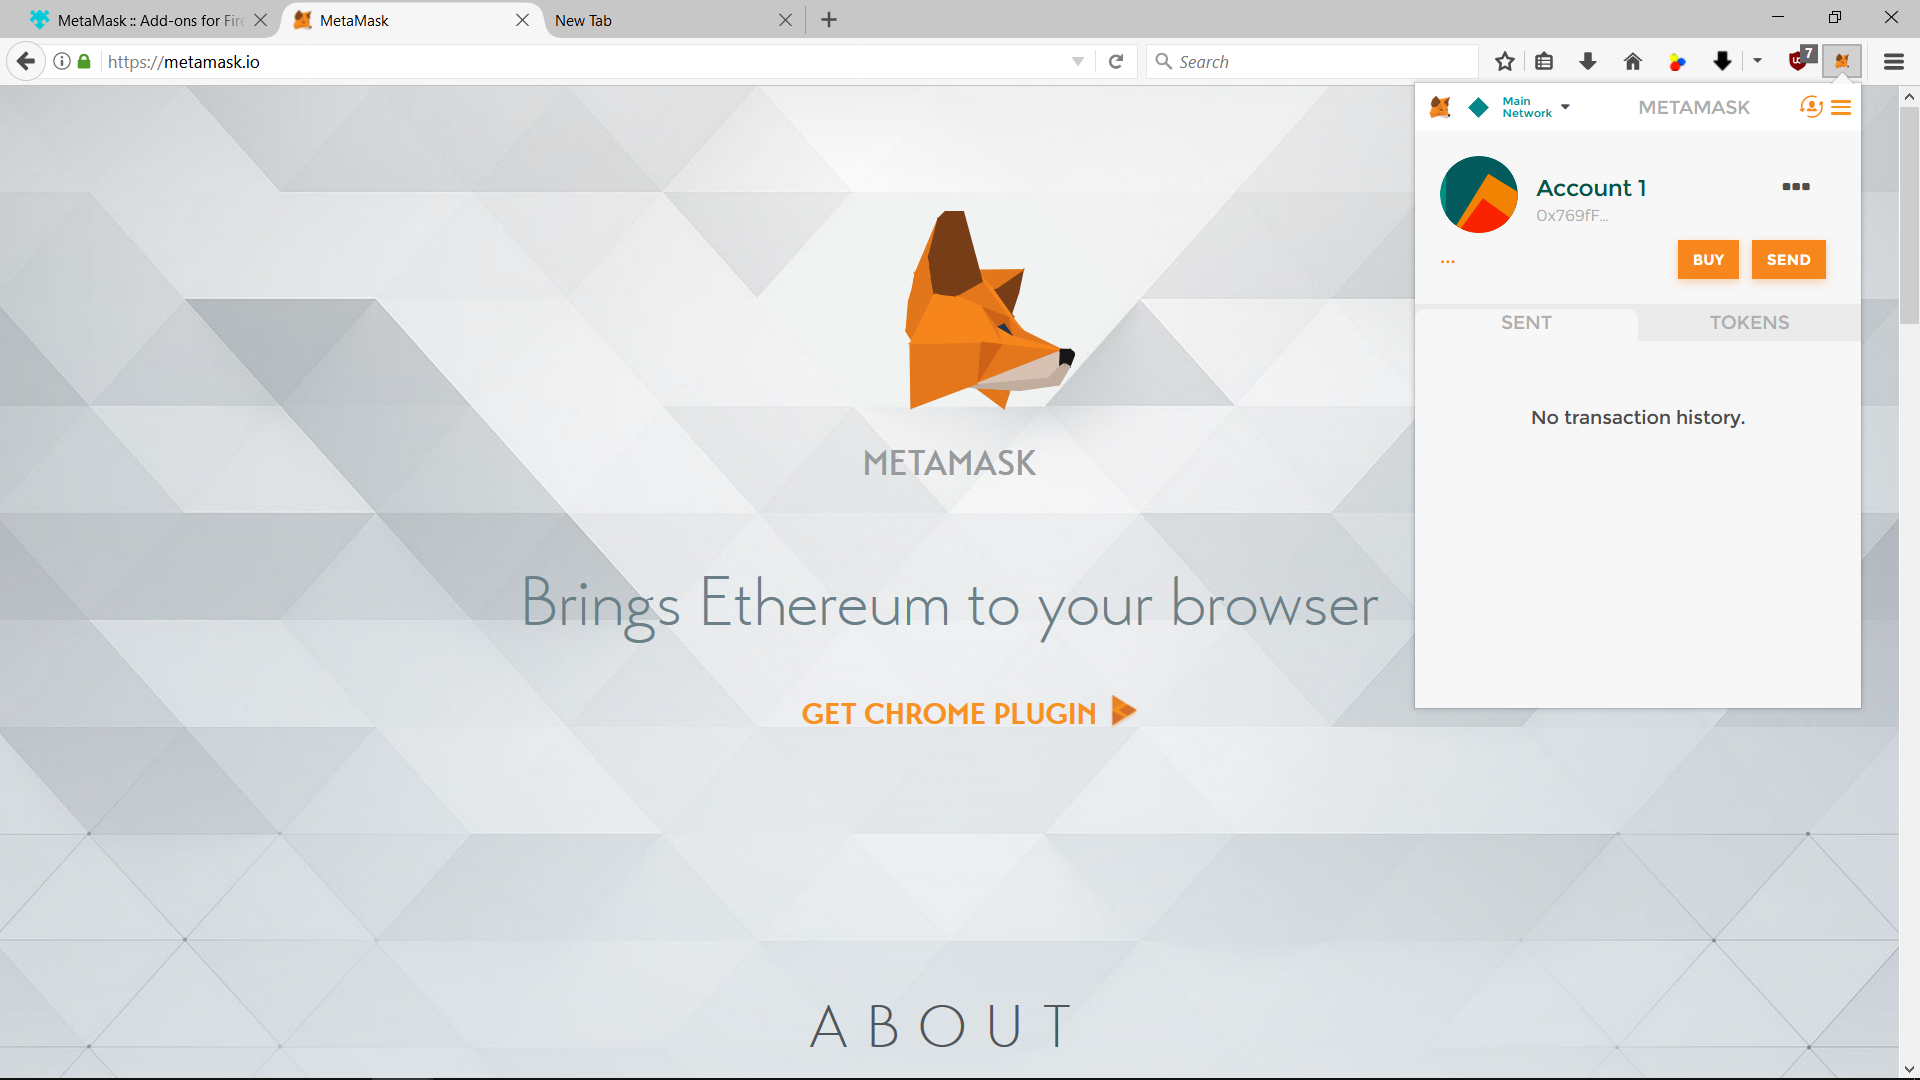
Note: *Your MetaMask account is not your Ethereum wallet! It is a way to store your wallet address and private keys, such that you can connect to the Ethereum network from your browser.
Clicking on the three dots, you can view your full address and export your private key. The latter is highly recommended, so that you may access your wallet in another software, or should you lose access to your MetaMask account. 
Head on to https://wallet.ethereum.org/. This is the interface for your Ethereum wallet. You will see a similar interface on other official Ethereum wallet software like Mist. You can see your wallet address in the main site. 
For this guide, we'll switch from the Main Ethereum Network to the Ropsten Test Network (testnet), which is built with the same code as Ethereum, but is on a separate blockchain. We are using a testnet during testing so our real Ethereum and wallets aren't affected. 
Note: *Do NOT send real ETH from the main network to any testnets!
If you're connected to the main network, do not send ETH to an address that is only connected to the testnet.
Make sure you're connected to the appropriate testnets before interacting with testnet addresses.*
To keep track of custom tokens, click on the CONTRACTS tab, scroll down, and click on WATCH TOKENS.
Next, we add the address of the token contract we want to keep track of. Here I'll use the custom token I've created on a whim. The address is 0x201b443e23a9c8ab197c7e20621ca552af13377b. It's called dogcoin, and its symbol is 'dgo'. 
If you have any dgo at all, you will find it in this section. 
To send tokens, go to the SEND tab, and enter the address of your intended receipient, the token, and the amount. It costs gas (ETH) to send tokens, and you can choose how much gas to send.
In this case, I used a different wallet to send my custom dogcoins. 
After all the confirmations, you can take a look at the transaction history. You'll have to wait for your transaction to be confirmed by other people (miners). 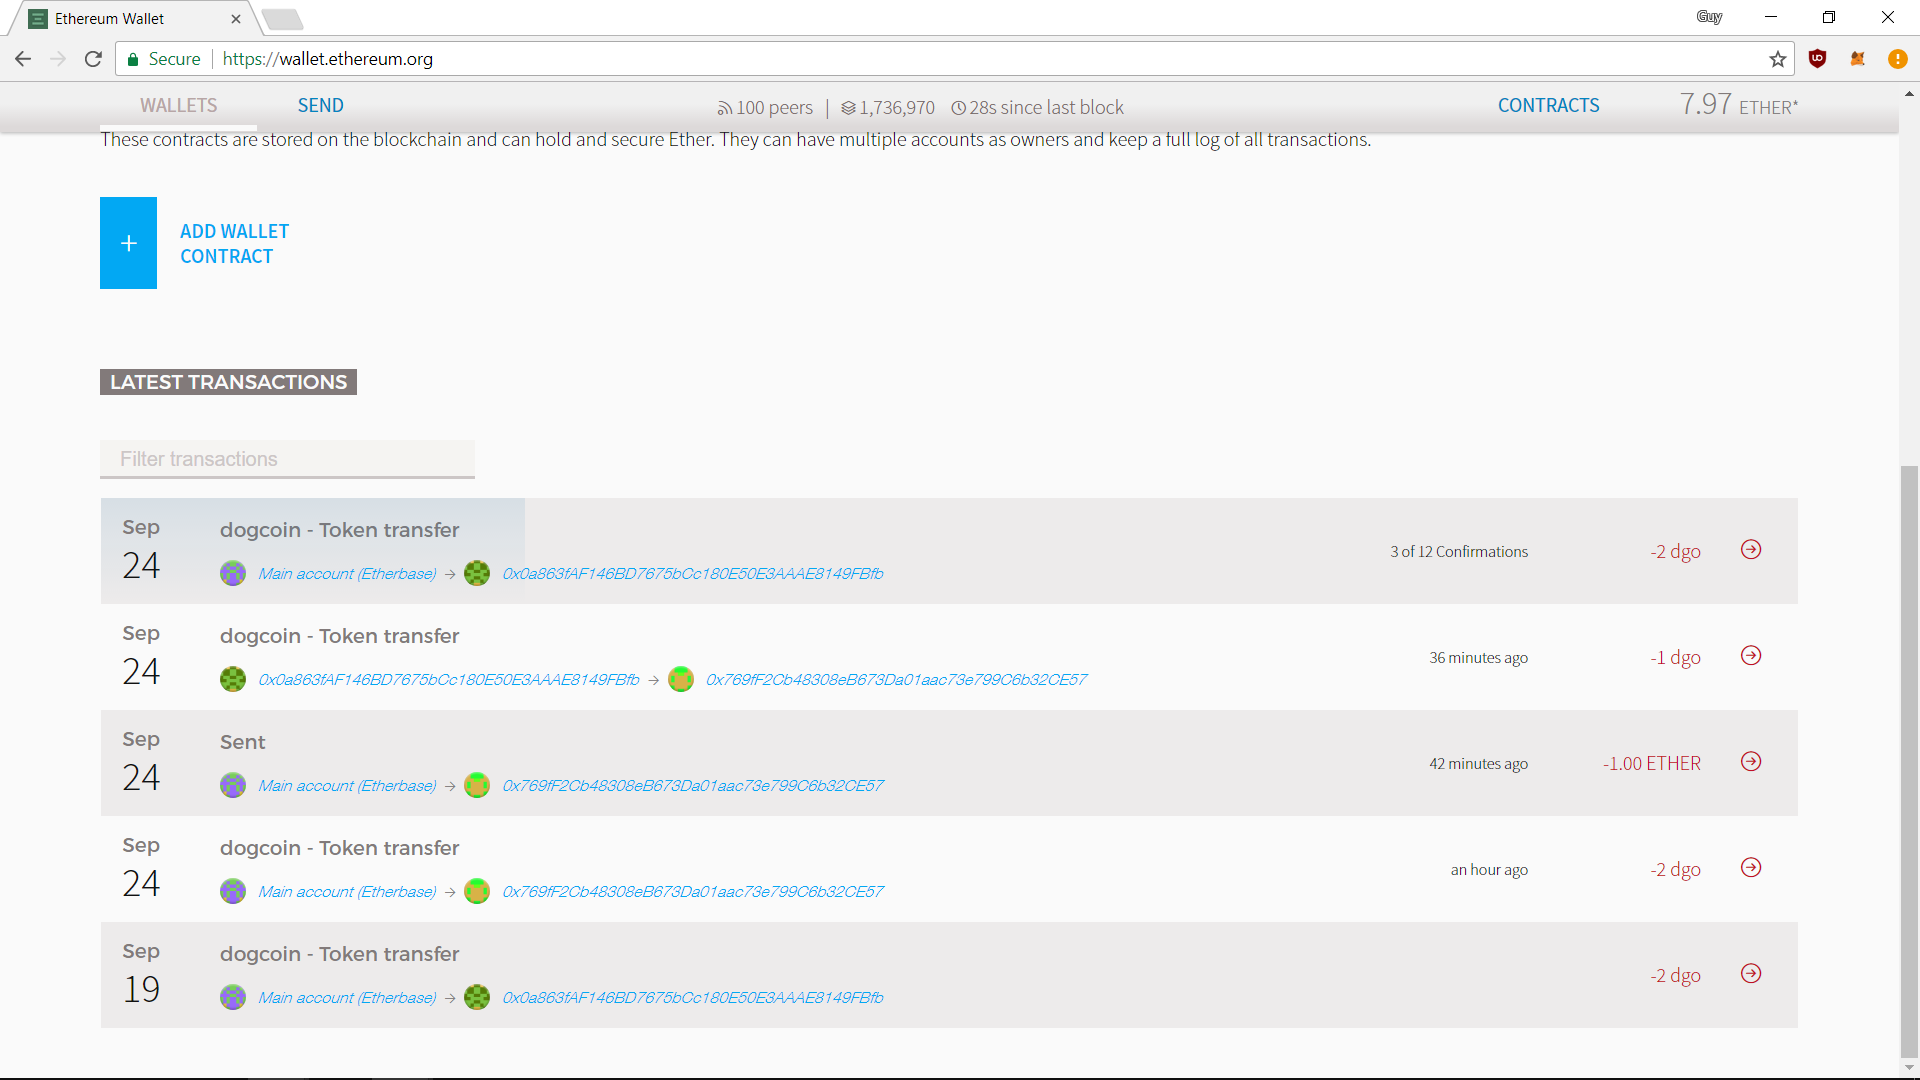
Clicking on a transaction shows you its details and a Transaction ID at the top. Clicking on that shows you the transaction on Etherscan, a service that tracks every single address and interaction on the Ethereum blockchain. 
There!
We now have a way to connect to the Ethereum network and access your wallet. We have also covered the basic functionalities of the wallet.
Do drop me an email if there is anything else I can help you with.