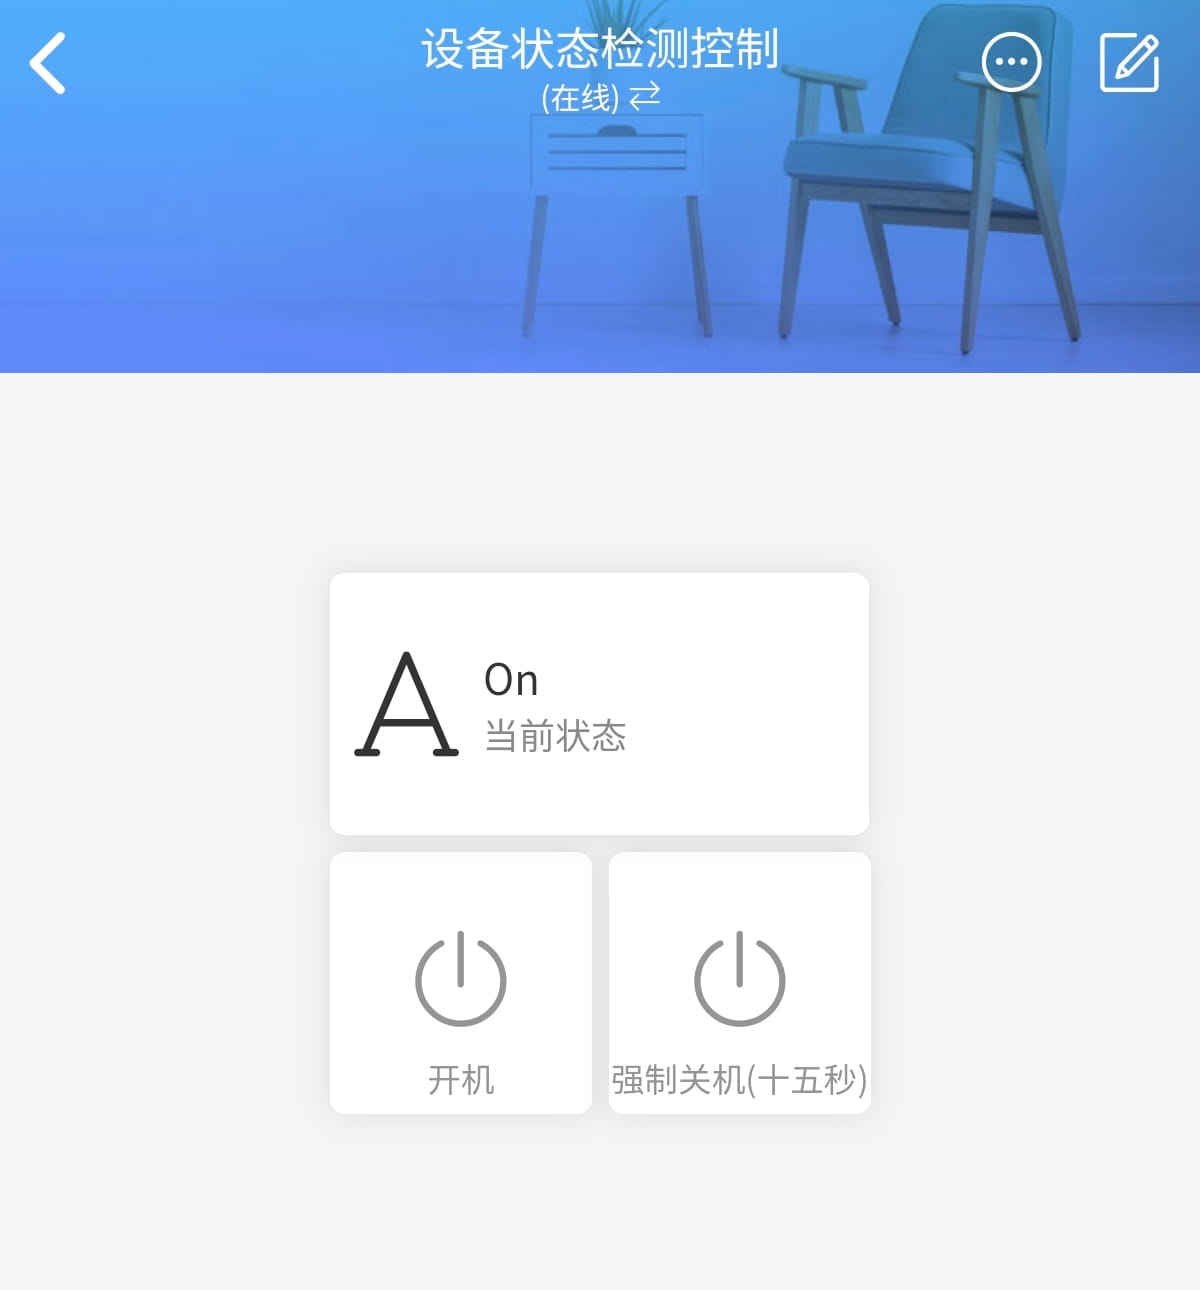
Remote boot your computer with ESP8266/ESP32 including status info showing up via Blinker.
With Blinker App, no need to built other things.
中文版本
Web server | old ver v2.0
Configure your WIFI, TOKEN, component ID, and download them to ESP8266/ESP32
By default, D3 is the POWER_ON button pin for the board, and D2 is the pin for turning on with power and off without power
The LED will blink when reporting data or executing button operations, using LED_BUILTIN to define the LED
All used pins can be globally replaced
Note:
D3must be a pin with high level(pulled up) default like GPIO0 (my board D3) in ESP8266 andD2must be free-floating like GPIO4 (my board D2) in ESP8266, more information here
char auth[] = "Auth-Token";  //replace "Auth-Token" to Your Blinker TOKEN
char ssid[] = "Your-SSID";  //replace "Your-SSID" to Your-SSID
char pswd[] = "Your-Password"  //replace "Your-Password" to Your-Password
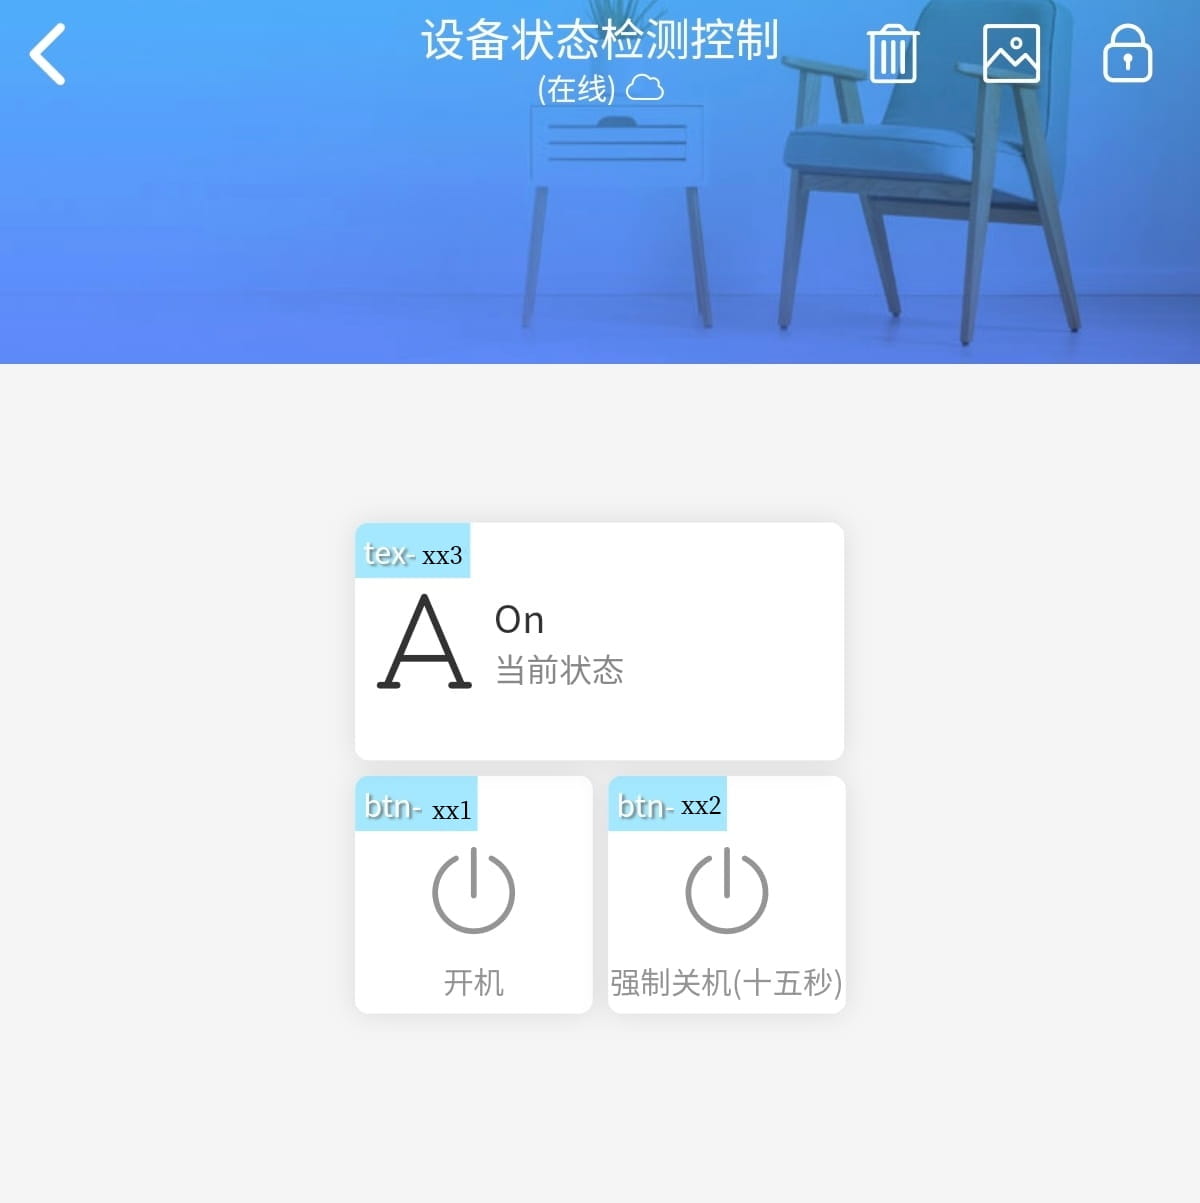
BlinkerButton BootButton(const_cast<char*>("btn-xx1"));  //replace "btn-xx1" to your blinker boot button id
BlinkerButton ForceShutdownButton(const_cast<char*>("btn-xx2"));  //replace "btn-xx2" to your blinker force-shutdown button id
BlinkerText StatusText(const_cast<char*>("tex-xx3"));  //replace "tex-xx3" to your blinker status text id