A collection of packages containing autonomous functionalities for Husarion UGV vehicles.
To simplify the execution of this project, we are utilizing just. Install it with:
curl --proto '=https' --tlsv1.2 -sSf https://just.systems/install.sh | sudo bash -s -- --to /usr/binThe provided example is configured for the Panther robot and supports any LIDAR that publishes PointCloud2 or LaserScan and any camera that publishes Image and CameraInfo data types by setting the appropriate environment variable.
Important
Before running the navigation demo, ensure the following:
- This demo should be run on User Computer with IP address:
10.15.20.3/24. - A LIDAR publishes messages of type:
PointCloud2orLaserScan. - A camera publishes messages of type:
ImageandCameraInfo. - A static transformation between a LIDAR, a Camera and a robot frame is provided. The value of the
frame_idfield inside the published messages must connect to the robot'sbase_link.
Download this repository:
git clone https://github.com/husarion/husarion_ugv_autonomy_rosSetup environment:
cd husarion_ugv_autonomy_ros
export OBSERVATION_TOPIC={point_cloud_topic} # absolute topic name to match your LIDAR pointcloud2 topic (e.g. /scan)
export OBSERVATION_TOPIC_TYPE={msg_type} # Specify: `laserscan`, `pointcloud`
export CAMERA_IMAGE_TOPIC={camera_image_topic} # absolute topic name to match your camera image topic (e. g. /camera/color/image_raw)
export CAMERA_INFO_TOPIC={camera_info_topic} # absolute topic name to match your camera info topic (e. g. /camera/camera_info)
export SLAM=True # if you have a map you can run navigation without SLAM
Note
Additional arguments are detailed in the Launch Arguments section.
🤖 Run Navigation on the Physical Robot:
just start-hardware🖥️ Run Navigation in Simulation:
just start-simulation-
Install and run husarion-webui
just start-visualization
-
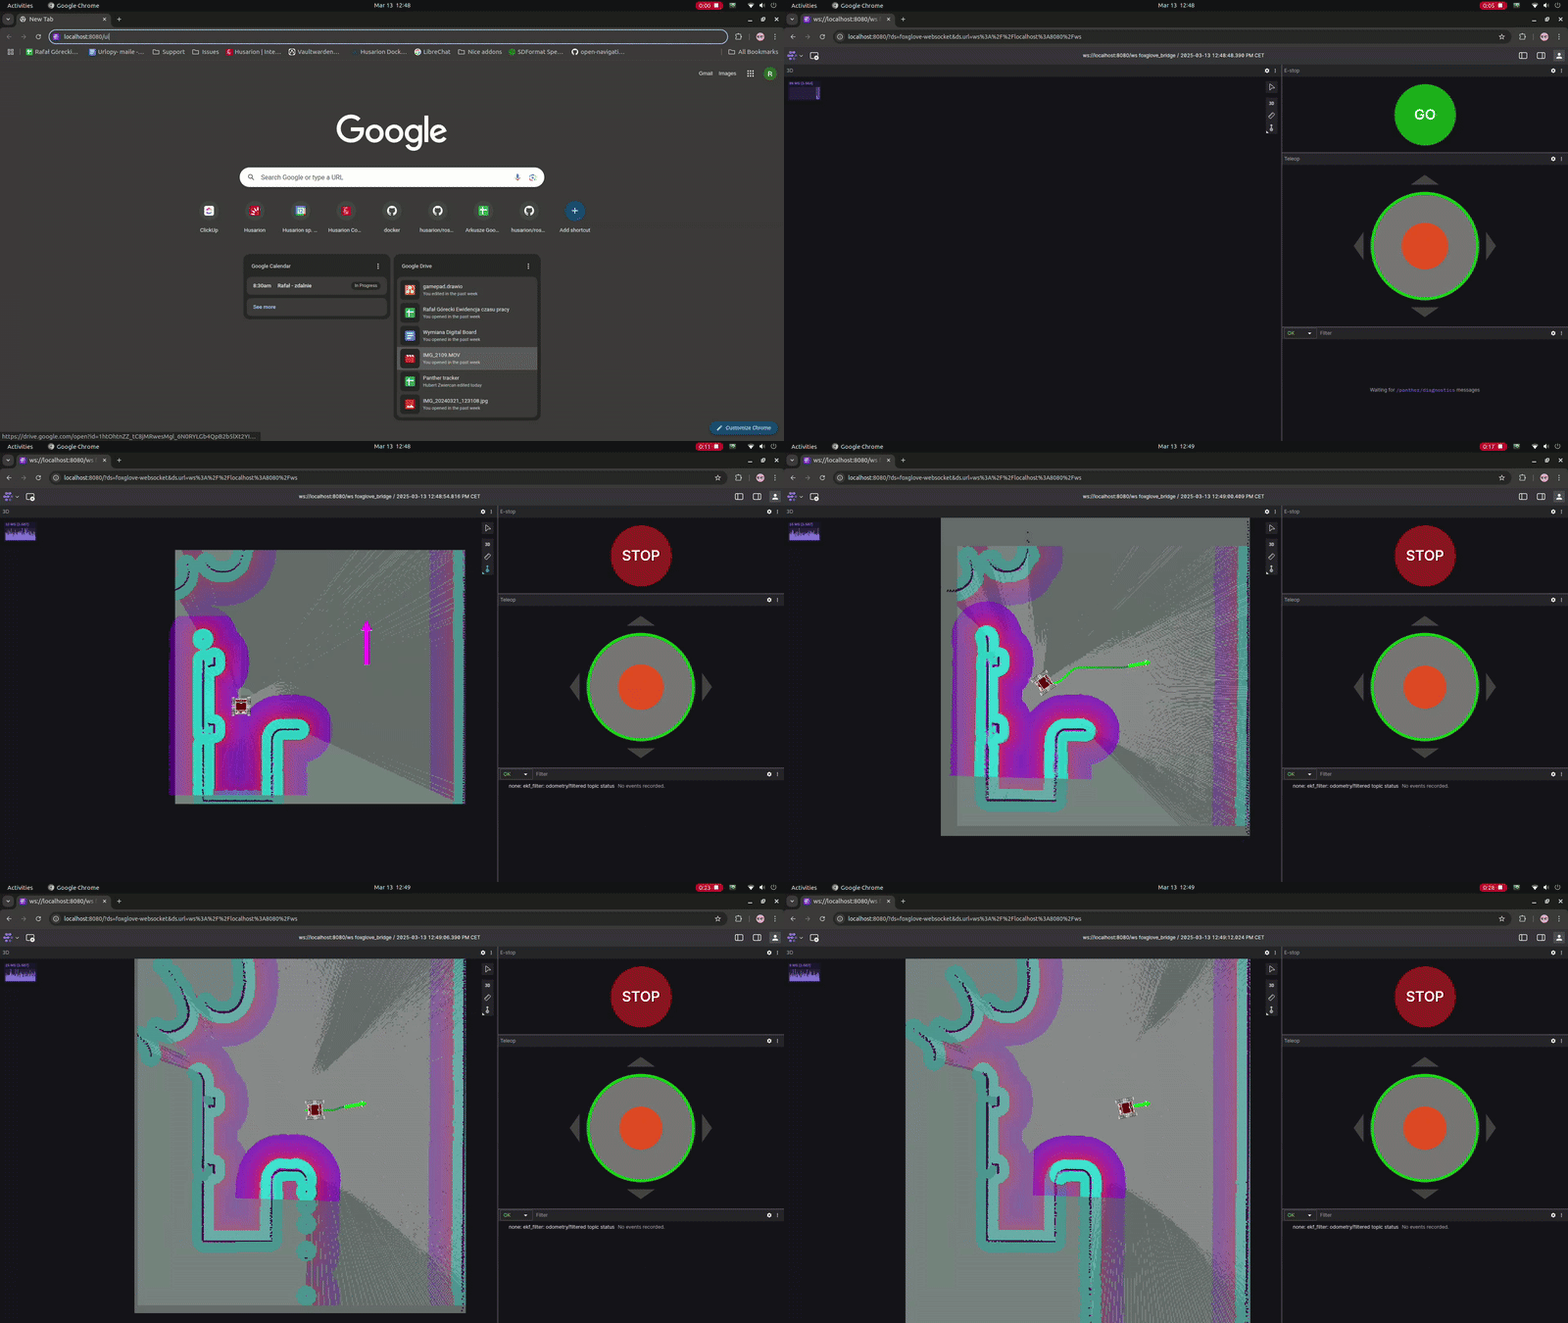
Open the your browser on your laptop and navigate to:
- http://{ip_address}:8080/ui (devices in the same LAN)
- http://{hostname}:8080/ui (devices in the same Husarnet Network)
| Argument | Description Type: Default |
|---|---|
autostart |
Automatically startup the nav2 stack. bool: True |
log_level |
Logging level. string info (choices: debug, info, warning, error, custom) |
map |
Path to map yaml file to load. string: /maps/map.yaml |
namespace |
Add namespace to all launched nodes. string: env(ROBOT_NAMESPACE) |
observation_topic |
Topic name for LaserScan or PointCloud2 observation messages type. '' |
observation_topic_type |
Observation topic type. string: pointcloud (choices: laserscan, pointcloud) |
params_file |
Path to the parameters file to use for all nav2 related nodes. string: `nav2_params.yaml |
pc2ls_params_file |
Path to the parameters file to use for pointcloud_to_laserscan node. string: `pc2ls_params.yaml |
slam |
Whether run a SLAM. bool: False |
use_composition |
Whether to use composed bringup. bool: True |
use_respawn |
Whether to respawn if a node crashes. Applied when composition is disabled. bool: False |
use_sim_time |
Use simulation (Gazebo) clock if true. bool: False |
Once you have mapped an area, locate your charging docks on map and select their poses in the configuration file. You can use RViz or Foxglove.
In the example below for dock named main the position is pose: [1.0, 1.20, 1.57].
[...]
    main:
        [...]
        pose: [1.0, 1.20, 1.57] # [x, y, yaw] of the dock on the map. Used also for spawning dock in the simulation.
[...]Run Docking nodes:
just start-dockingRun Docking sequence:
just dock mainRun Undocking sequence:
just undock