
A golf size ball emiting IR light powered by 18350 Li-Ion battery with 40khz modulation
(8 pulzes of 40khz then off with period of 1.2khz)

You are able to buy it here https://robofuze.com/ cost is 20EUR per ball build without battery and 15EUR for kit.
We recomend to order flexPCB from eather JLCPCB or PCBWAY, both do have sponsorship programs so you might be able to get it for free. Depending on your buget and skill set also think about ordering stencil (all componentc are posible to solder by hand soledring but it is easier to do it with stencil)
https://www.pcbway.com/sponsor.html
https://jlcpcb.com/help/article/how-to-apply-for-free-pcb

You can find all files neaded for manufacturing here in this repo.
| Image | Quantity | Comment | Footprint | Value | LCSC | Mouser | DigiKey |
|---|---|---|---|---|---|---|---|
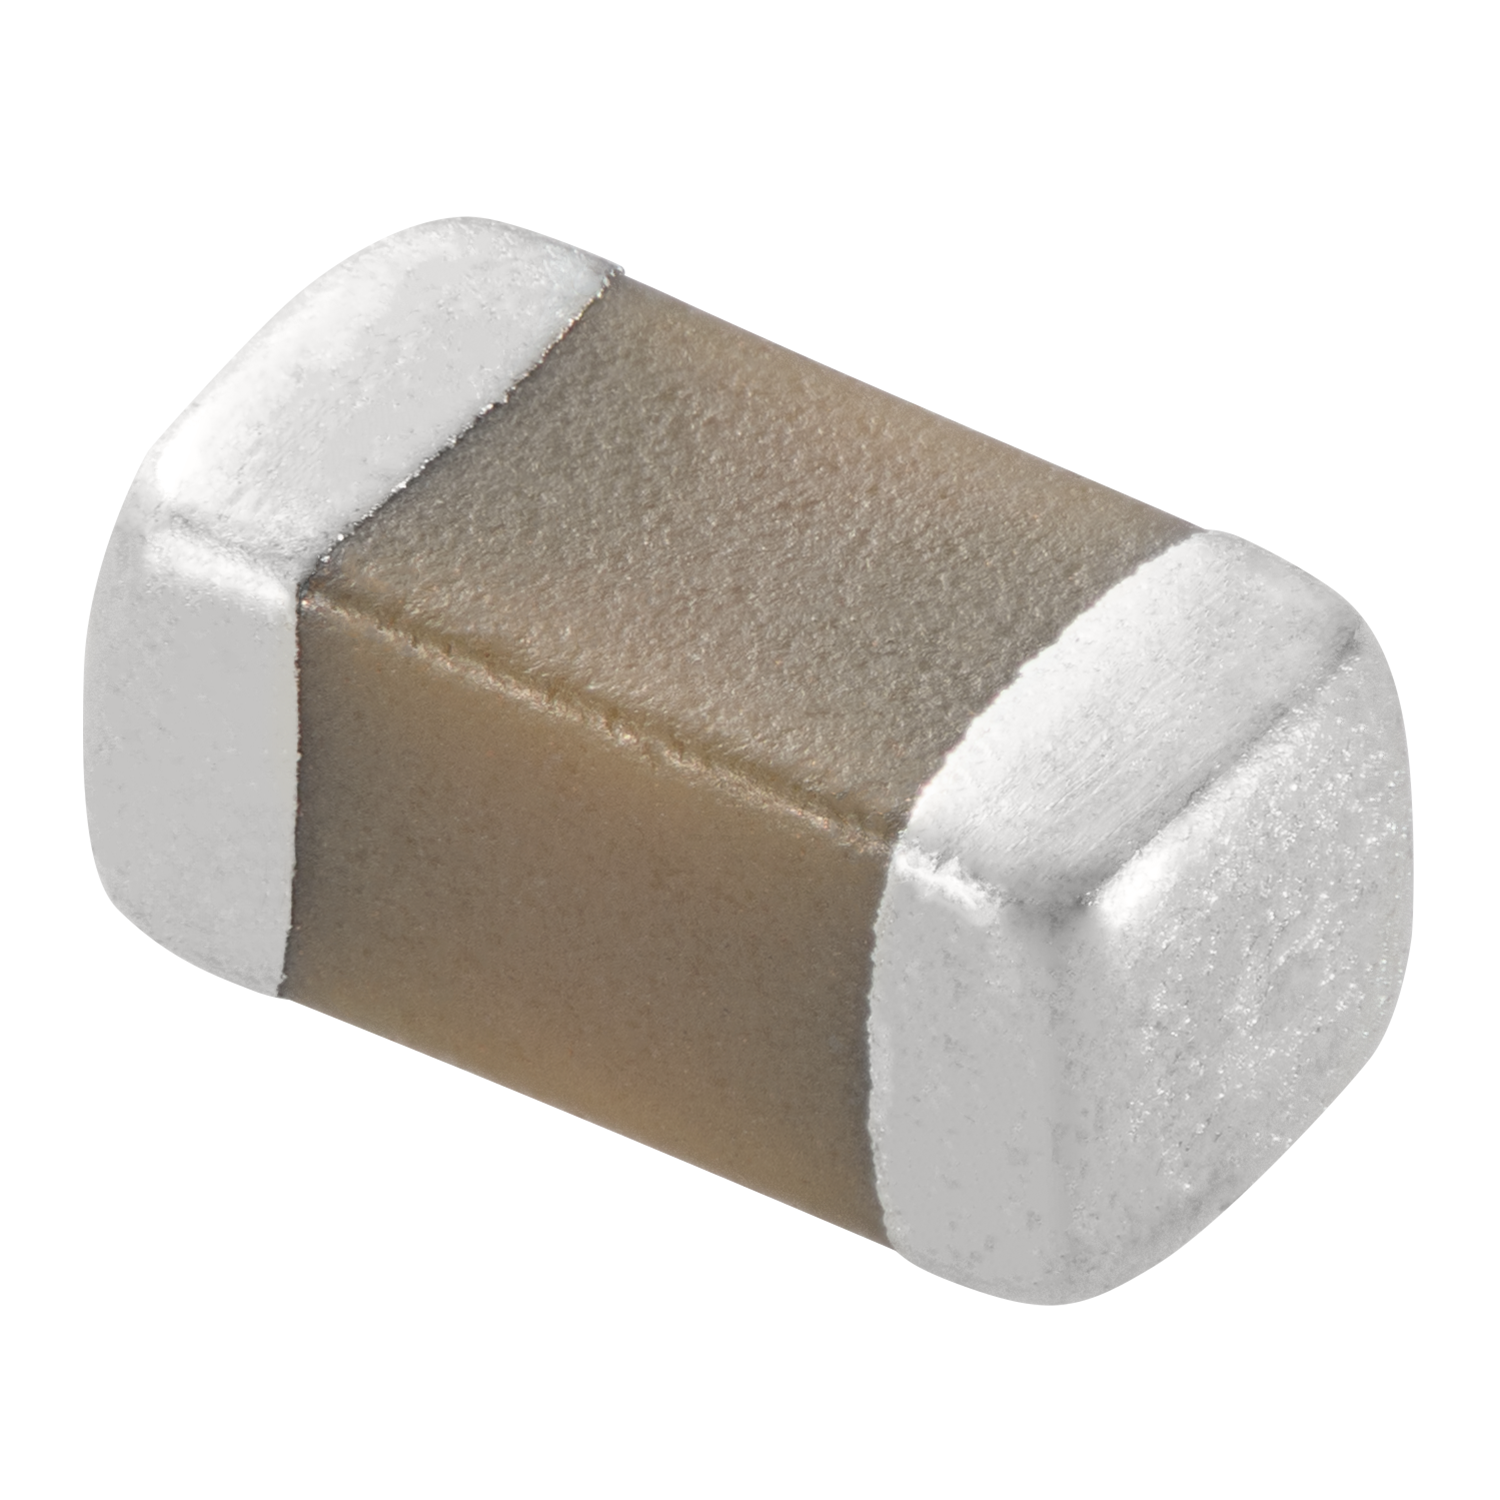 |
24 | 22uF | C0603 | 22uF | GRM188R60J226MEA0D | GRM188R60J226MEA0D | GRM188R60J226MEA0D |
|
3 | 47uF | C0805 | 47uF | C2012X5R1A476MTJ00E | C2012X5R1A476M125AC | C2012X5R1A476M125AC |
|
1 | 4.7nF | C0603 | 4.7nF | CC0603KRX7R9BB472 | CC0603KRX7R9BB472 | CC0603KRX7R9BB472 |
|
1 | 120pF | C0603 | 120pF | CL10C121JB8NNNC | CL10C121JB8NNNC | CL10C121JB8NNNC |
 |
1 | SS1045-SMB | SMB_L4.4-W3.6-LS5.3-RD | SS1045-SMB | VSSB7L45-M3/52T | VSSB7L45-M3/52T | |
 |
1 | 220nH | IND-SMD_L4.1-W4.1 | 220nH | IHLP1616BZERR22M01 | IHLP1616BZERR22M01 | IHLP1616BZERR22M01 |
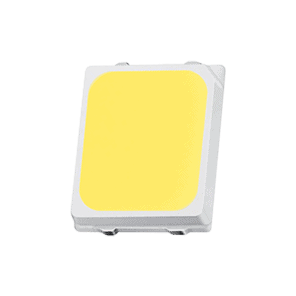 |
42 | XL-2835IR-T202 | SMD2835 | XL-2835IR-T202(recomended) | XXX | SE03-LP2835S-1400-940 | |
| 1 | XL-1608SURC-06 | LED0603 | XL-1608SURC-06 | SML-D12V8WT86 | SML-D12V8WT86 | ||
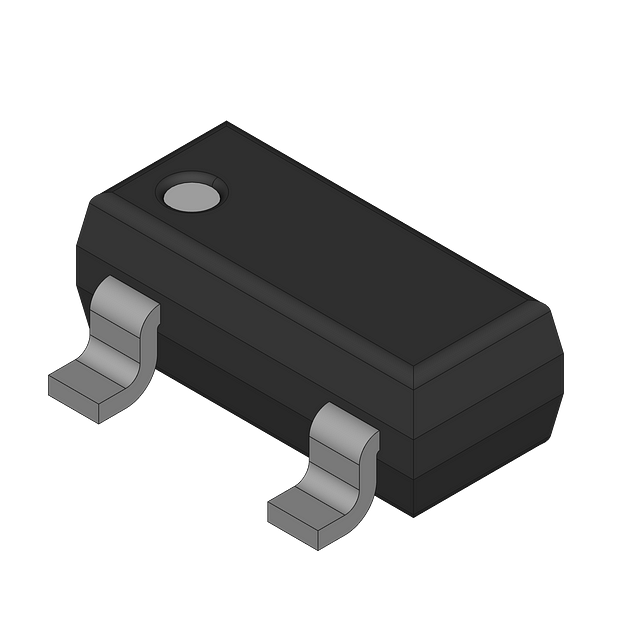 |
1 | AP3404 | SOT-23-3 | AP3404 | AP3404 | AP3404 | |
 |
42 | 10Ω | R0603 | 10Ω | 0603WAF100JT5E | 0603WAF100JT5E | 0603WAF100JT5E |
|
3 | 10k | R0603 | 10k | RC0603FR-0710KL | RC0603FR-0710KL | RC0603FR-0710KL |
|
1 | 316kΩ | R0603 | 316kΩ | RC0603FR-07316KL | RC0603FR-07316KL | RC0603FR-07316KL |
|
1 | 100kΩ | R0603 | 100kΩ | RC0603FR-07100KL | RC0603FR-07100KL | RC0603FR-07100KL |
|
1 | 100Ω | R0603 | 100Ω | 0603WAJ0101T5E | 0603WAJ0101T5E | 0603WAJ0101T5E |
 |
1 | ATTINY202-SSNR | SOIC-8 | ATTINY202-SSNR | ATTINY202-SSNR | ATTINY202-SSNR | |
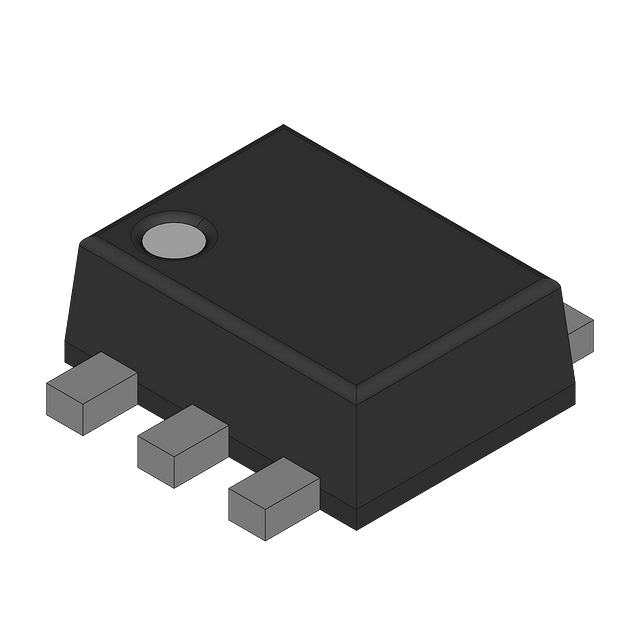 |
1 | TPS62A06DRLR | SOT-563-6 | TPS62A06DRLR | TPS62A06DRLR | TPS62A06DRLR | |
 |
1 | 1812L400/12GR | F1812 | 1812L400/12GR | MF-MSMF260-2 | MF-MSMF260-2 | |
 |
1 | 181 Keystone Spring | AAA spring | 181 Keystone Spring | 181 Keystone Spring | 181 Keystone Spring |
We recomend ordering from LCSC but you can find all the componets on other sites as well (Mouser,Digikey...), only one problematick component is LEDs, there are some alternatives but IR emision might be slightli diferent. For finding best suplier for you, we recomend using https://octopart.com/ and checking out list of eqvivalent componts (TODO list of eqvivalent components and selection criterias)
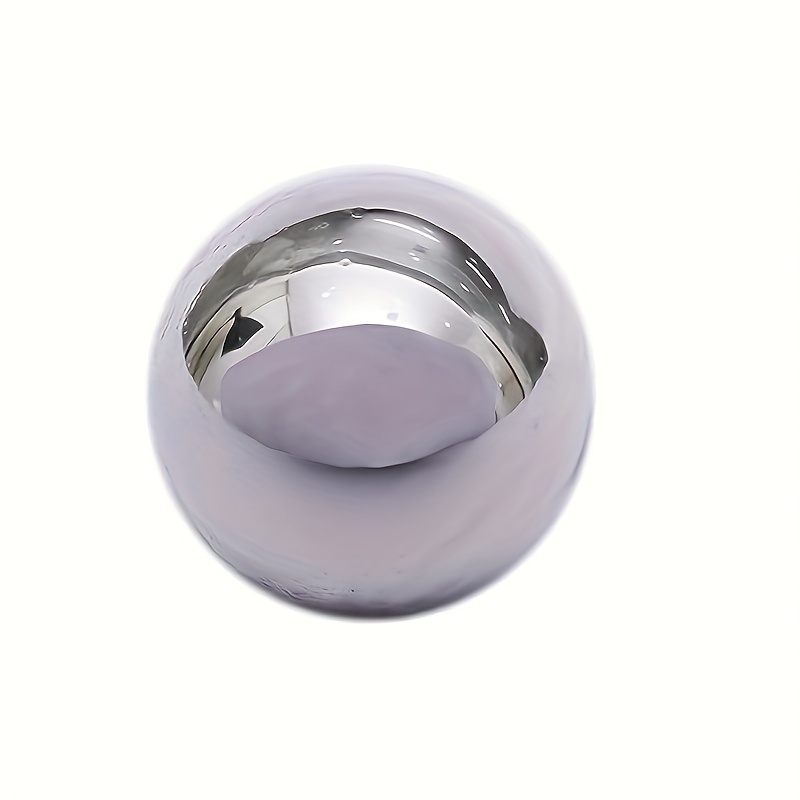
Shells are 3D printed, after lot of testing we found out that best option in general is using Spectrum Premium PCTG 1.75mm TRANSPARENT ORANGE 1kg for good optical properties/cheap/easy to print/mechanical properties similar to PC.
For magnets we are using 6 8mm5mm5mm neodimium magnets.

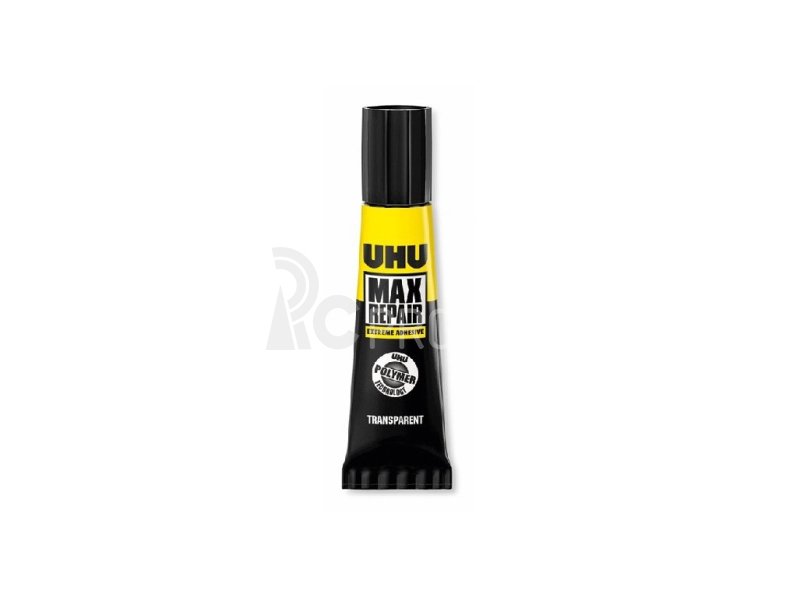
Any superglue should work fine but we recomend UHU MAX Repair

We are using 18350 Li-Ion battery. We recomend capacity ranging from 1100mAh to 1200mAh (for balance reasons) with weigt as close to 24g as posible . It schold be easy to find in your local vape shop or battery store. Dont forget to get charger if you dont have one.

You can find stl files as well as sliced model in prushaslicer in 3d in this repo. Main thing to look for is to use enought of separation distance for suports (0.25mm) and to set temperature of bad to 80 C and nozle to 255 C. Also dont forget to print counterwight for balance. All the files can be found here . Time to print 1 shell is around 1:30h. For counterweight it is around 30min
While your 3d printer is working you can asemble PCBs. It can be done by hand but stencil is more convinient. We recomend to place coil as last component so you will be able to rework regulator solder joints if neaded after reflow.
This step is not neaded when you did buy a kit from us. The best way to aproach this is to watch this video: https://www.youtube.com/watch?v=AL9vK_xMt4E and upload code as mention in the video. Dont forget to contect 5V to 2.5V trace when programing so UDPI voltages do match. Also dont forgete to change freqvenci to 5MHz for attiny being able to work at 2.5V.
First remove suports from 3d printed shell.

Then place balls in midle of every balancing pocket

Put glue on magnet

Insert magnet

And insert top balls and repeat

Do it twice, and then atach counter weight to PCB

Insert PCB into a 3D printed schells and make shure that baterry fits corectly. You can regulate contact of batery with PCB by adding or removing solder from battery contact pads that are on the PCB.

Test your ball if it glows using your mobile phone.
 The end (: