NVIDIA Jetson Setup
Note: These steps may be the same for other Jetson models but were written specifically for a Jetson TK1.
- A NVIDIA Jetson (the TK1 model was used for this tutorial)
- Micro USB cable
- PC running UBUNTU 64 bit
- Router/switch on the same network as you UBUNTU PC
- 1 Ethernet cable
- Webcam (works best with an LED light ring)
- Provided 12v power supply
Step 1: Plug micro usb cable into the jetson (small side into the port next to audio jacks, and the large side into your PC running UBUNTU).
Step 2: Plug in the Jetson into your router/switch via ethernet. Make sure your UBUNTU PC is connected to the same network (via ethernet or wifi) and the network is connected to the INTERNET
Step 3: Turn jetson into recovery mode by holding down the recovery button and pressing reset (if the jetson is on already) or power off (if the jetson is off)
Step 4: Open up console (terminal) on your LINUX computer
Step 5: Type lsusb into the ubuntu PC's console and check to make sure that there is a NVidia device plugged in
Step 6: Download flashJetson.run Type (and then click enter, password: ubuntu):
mkdir jetsonInstall; cd jetsonInstall; wget https://github.com/FRCTeam3255/NURDVision/raw/master/flashJetson.run; sudo bash ./flashJetson.run

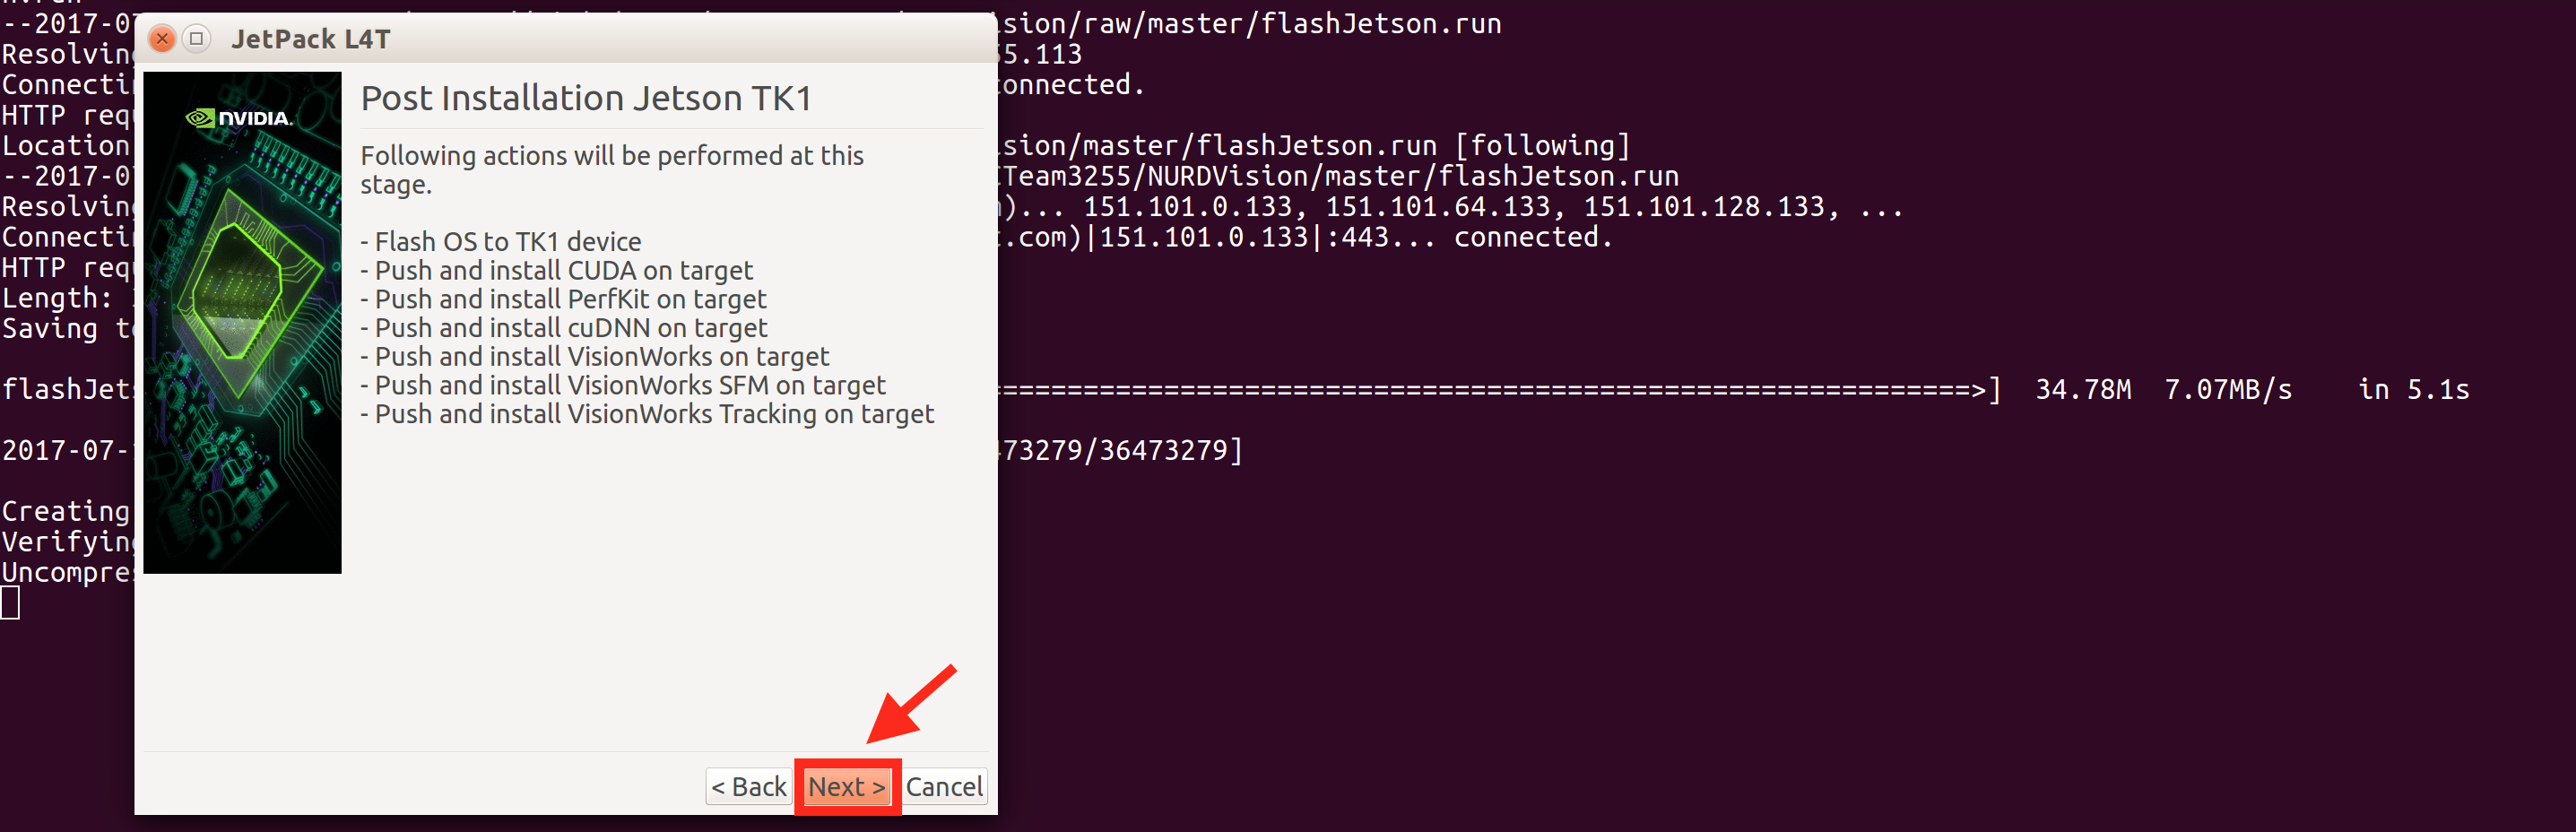
Step 7: Continue through the user intuitive flashing process (this may take a few hours) selecting Jetson Tk1 where available (Detailed steps below).


DO NOT INSTALL OPENCV OR ANY SAMPLES AT THIS POINT.

 (This may take a while)


 (Determining IP may take a while as it is downloading and installing software on the Jetson)

It should say flash succesfull.
Note: If issues occur check that the jetson is connected to the same router as your computer and it is able to access the internet, then reboot your computer and try again.
Jetson intial setup complete!
For steps on installing NURDVision see: NURDVision Jetson Installation