jra t4 EPN1 CRISM Tutorial.md
CRISM data has been published at this site. This service is registered with IVOA Registry of Registries, and can be found in TOPCAT.
Authors
Change Log
Preview CRISM in TOPCAT
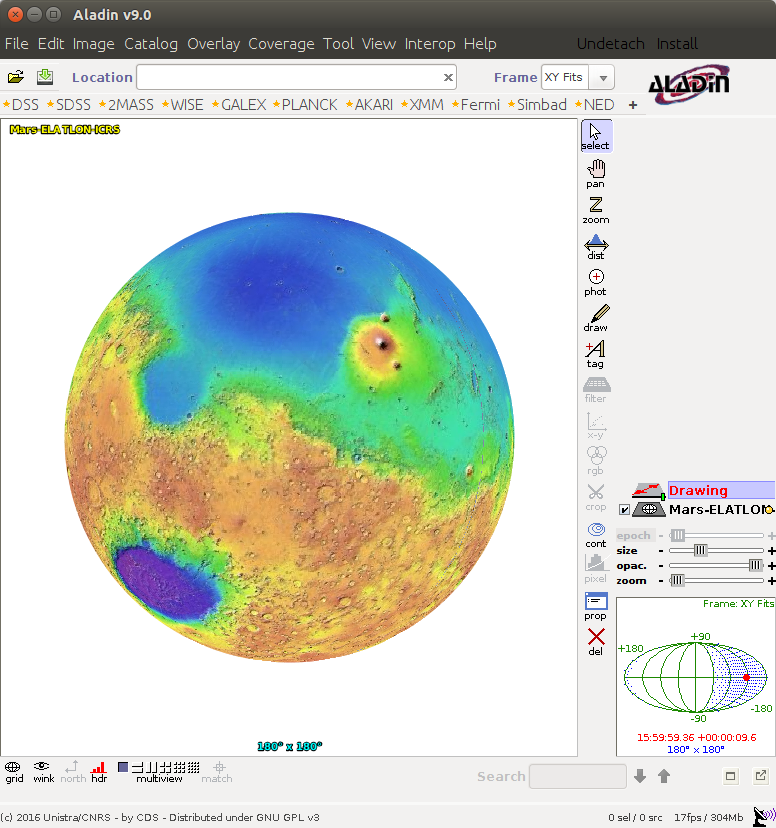
Displaying CRISM footprint in Aladin
Accessing subgranule data and importing to CASSIS
References
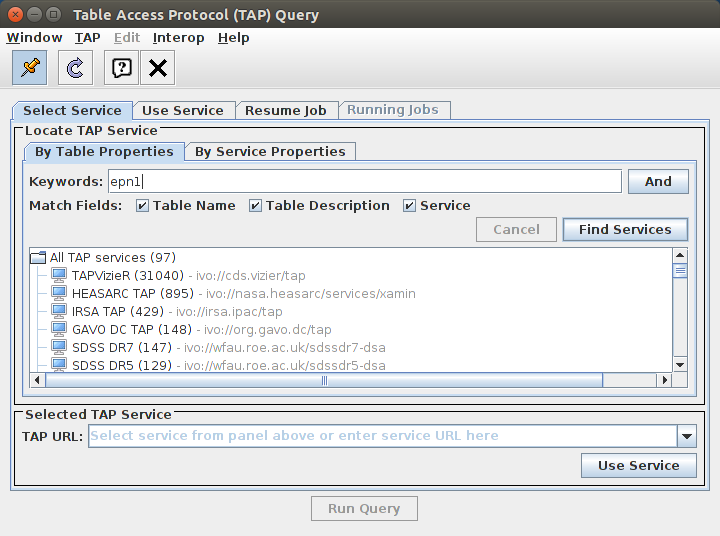
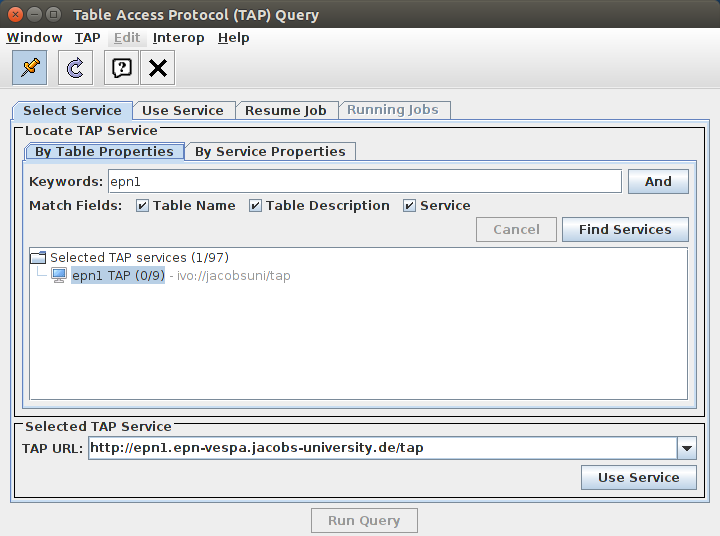
Search for "epn1". Double click.
Select "epn_vespa_crism.epn_core". Click on "Examples", select "Basic" => "Full table".
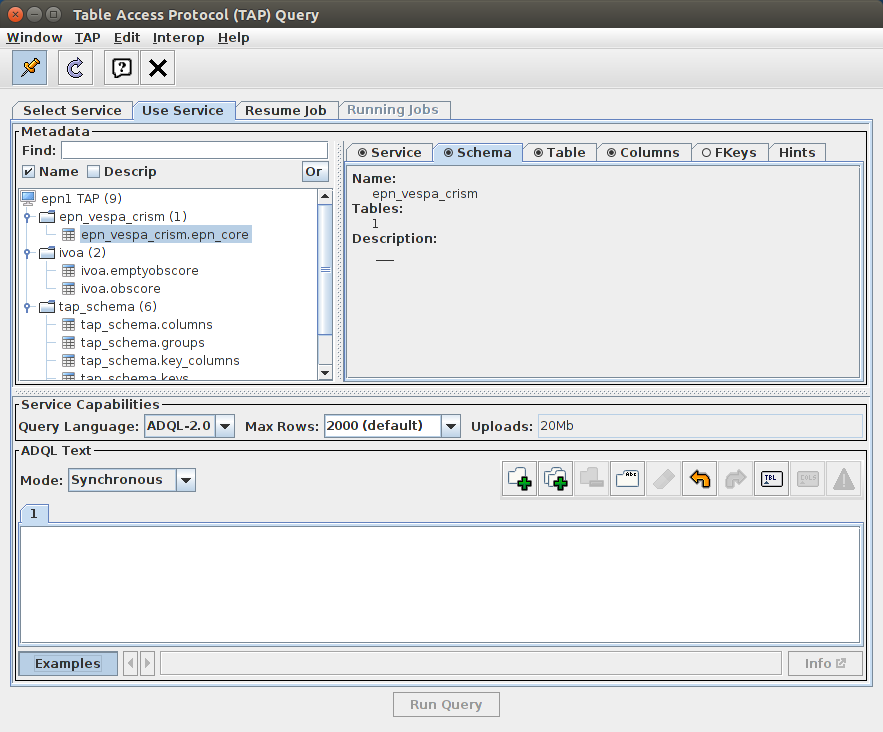
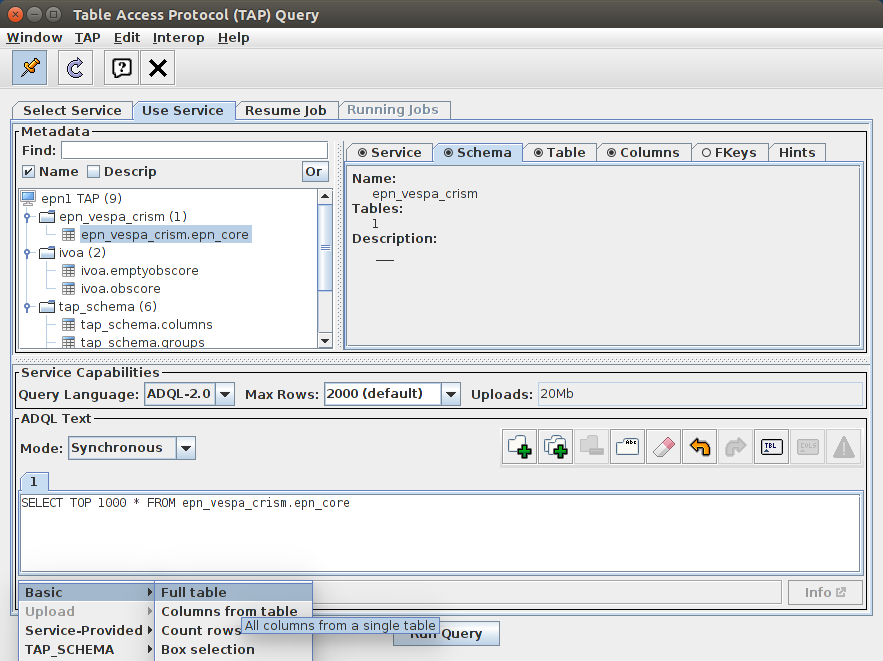
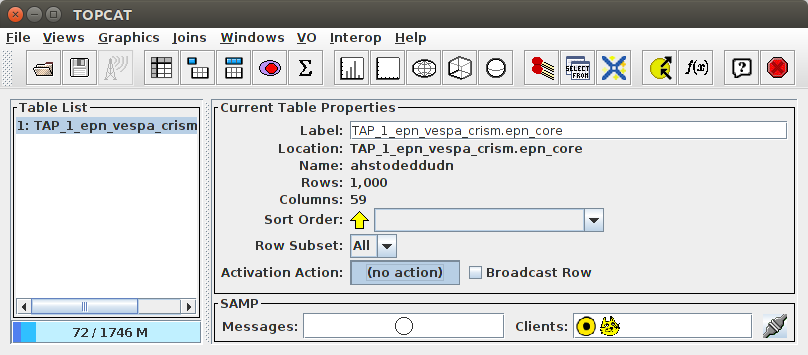
Click "Run Query". Click on "(no action)" button at "Activation Action".
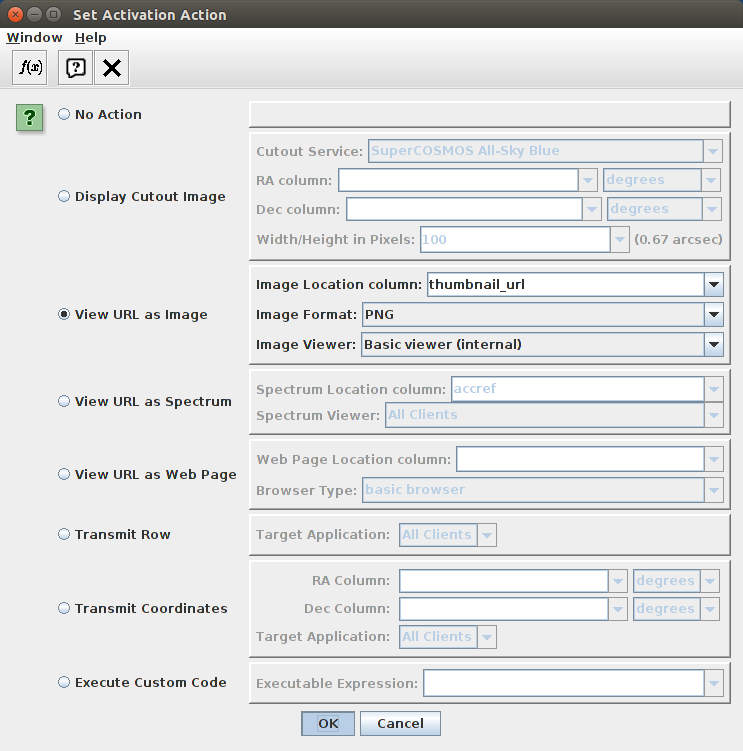
Select "View URL as Image".
Choose "thumbnail_url" for Image Location column;
"PNG" for Image Format;
"Basic viewer (internal)" for Image Viewer. Press OK.
Click on the "Table Browser" button.
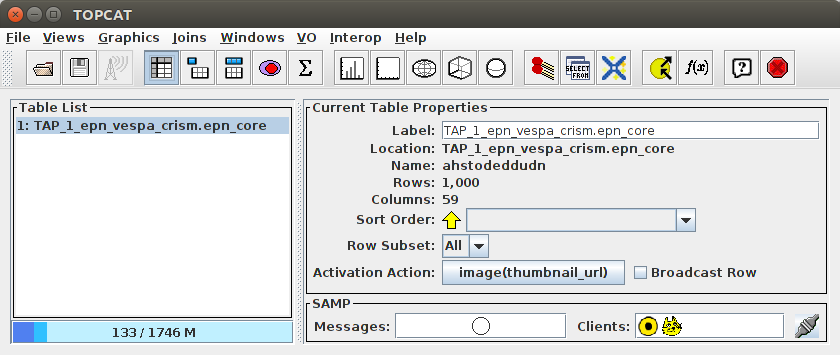
You can now view the table.
<img src="https://raw.githubusercontent.com/megadiesel705/tutorials/master/jra-t4-EPN1-CRISM/img/1_Table_view.png" width="500" alt"Table">
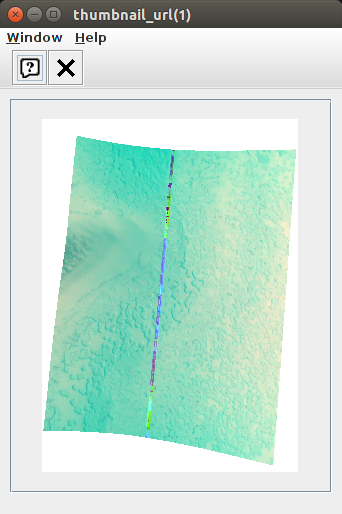
Clicking on a row should open image preview.
 Open Aladin web [to start](http://aladin.u-strasbg.fr/java/nph-aladin.pl)
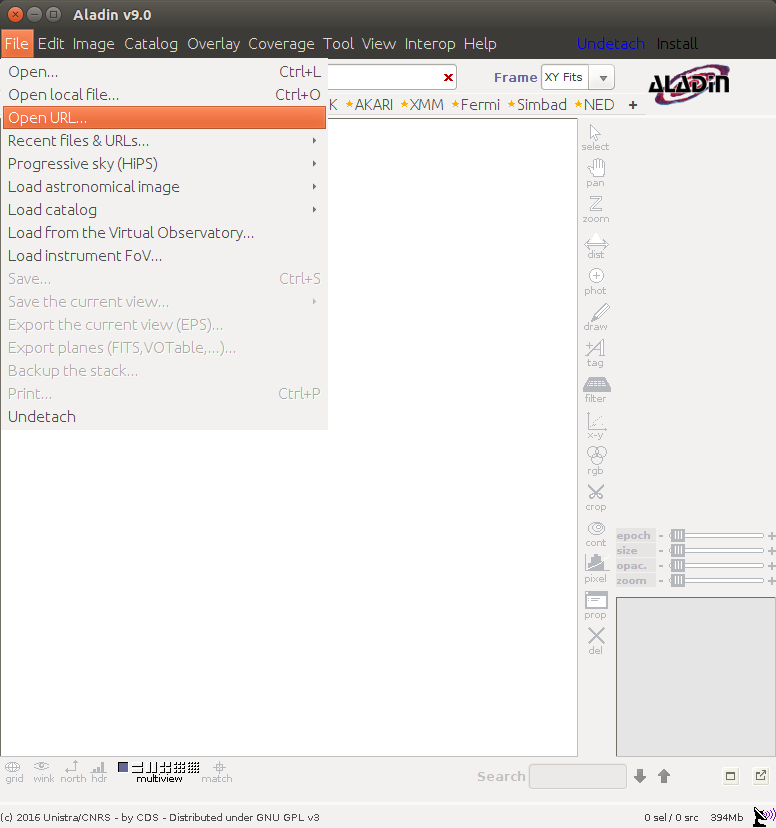
On the main menu click "File" => "Open URL"
Open Aladin web [to start](http://aladin.u-strasbg.fr/java/nph-aladin.pl)
On the main menu click "File" => "Open URL"
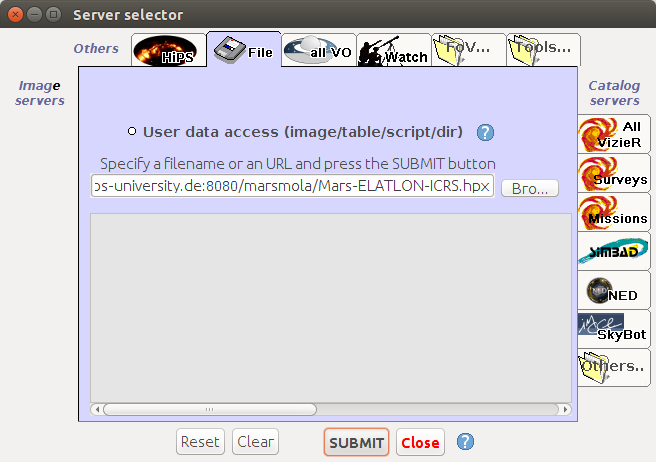
Add HiPS :
http://epn1.epn-vespa.jacobs-university.de:8080/marsmola/Mars-ELATLON-ICRS.hpx
Click submit.
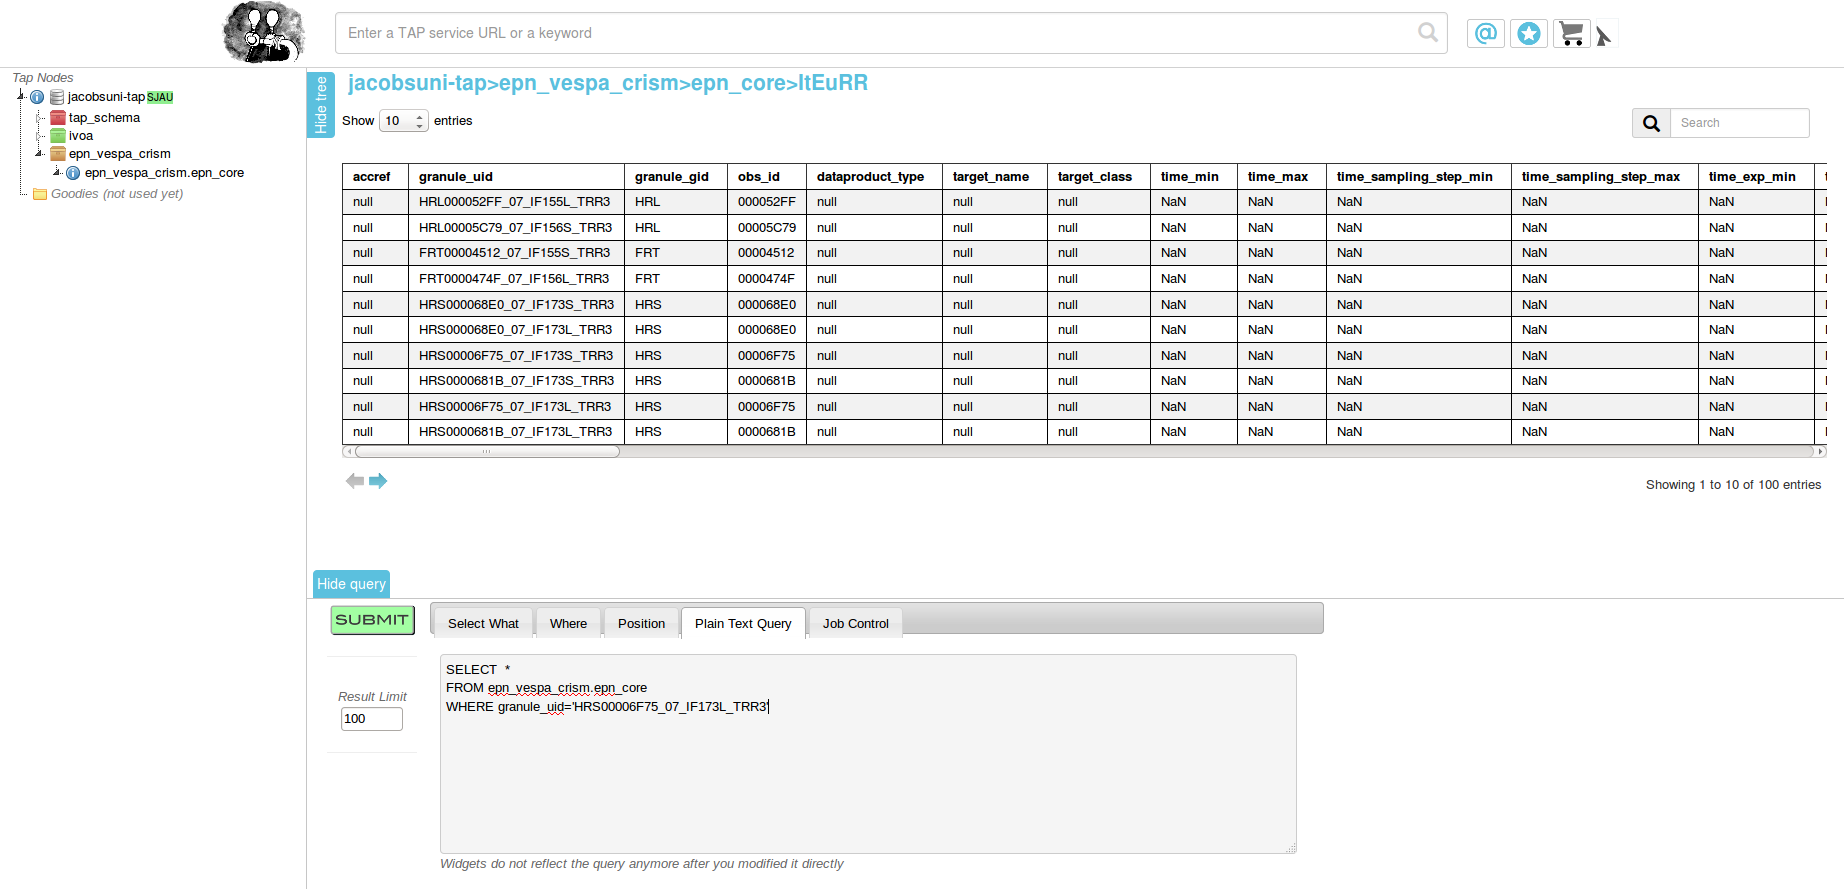
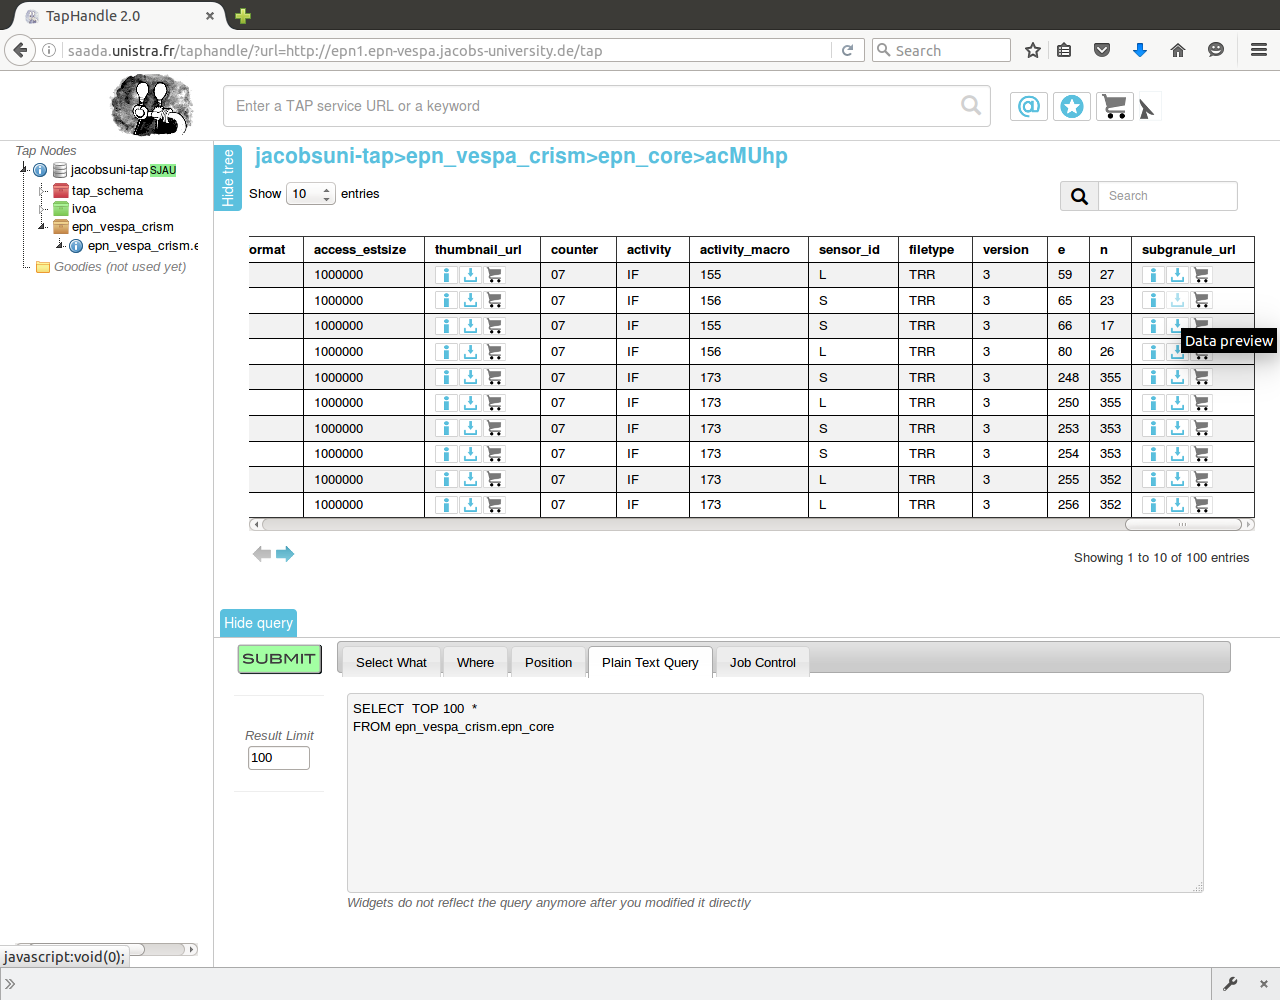
Open epn1 TAP Handle in your browser.
Open table, add query to search for granule of interest:
SELECT *
FROM epn_vespa_crism.epn_core
WHERE granule_uid='HRS00003082_07_IF177S_TRR3'
<img src="https://raw.githubusercontent.com/megadiesel705/tutorials/master/jra-t4-EPN1-CRISM/img/2_enp1_tap_handle.png" width="500" alt"enp1 TAP Handle">
Click "SUBMIT".

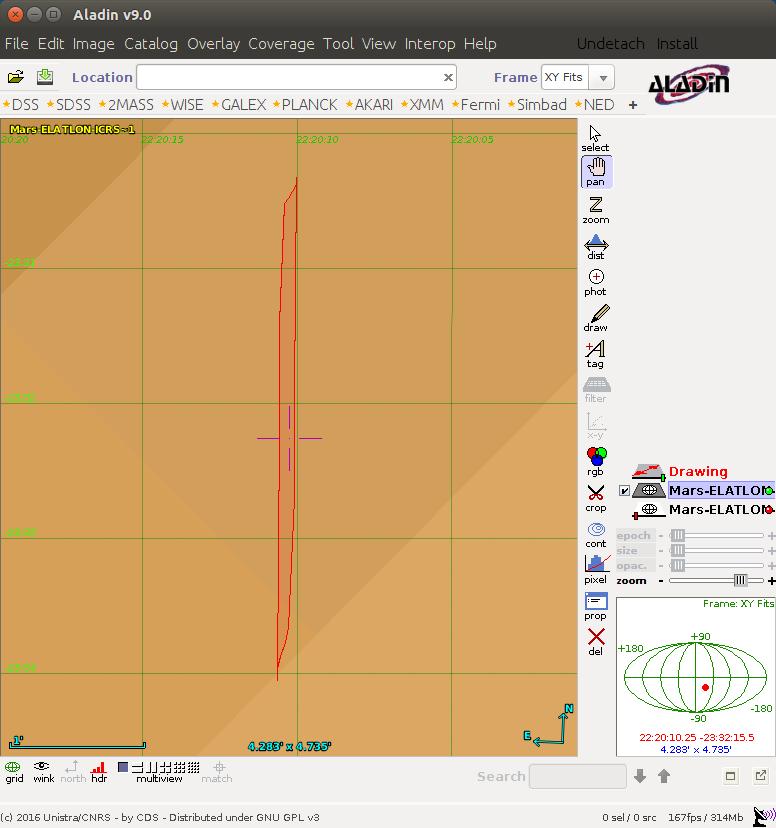
Scroll over to "s_region"

Click "Broadcast to SAMP" and authorize the connection to Hub.
Click "Broadcast to SAMP" again, and you should see a "drawing" appear in Aladin.
Open epn1 TAP Handle in your browser.
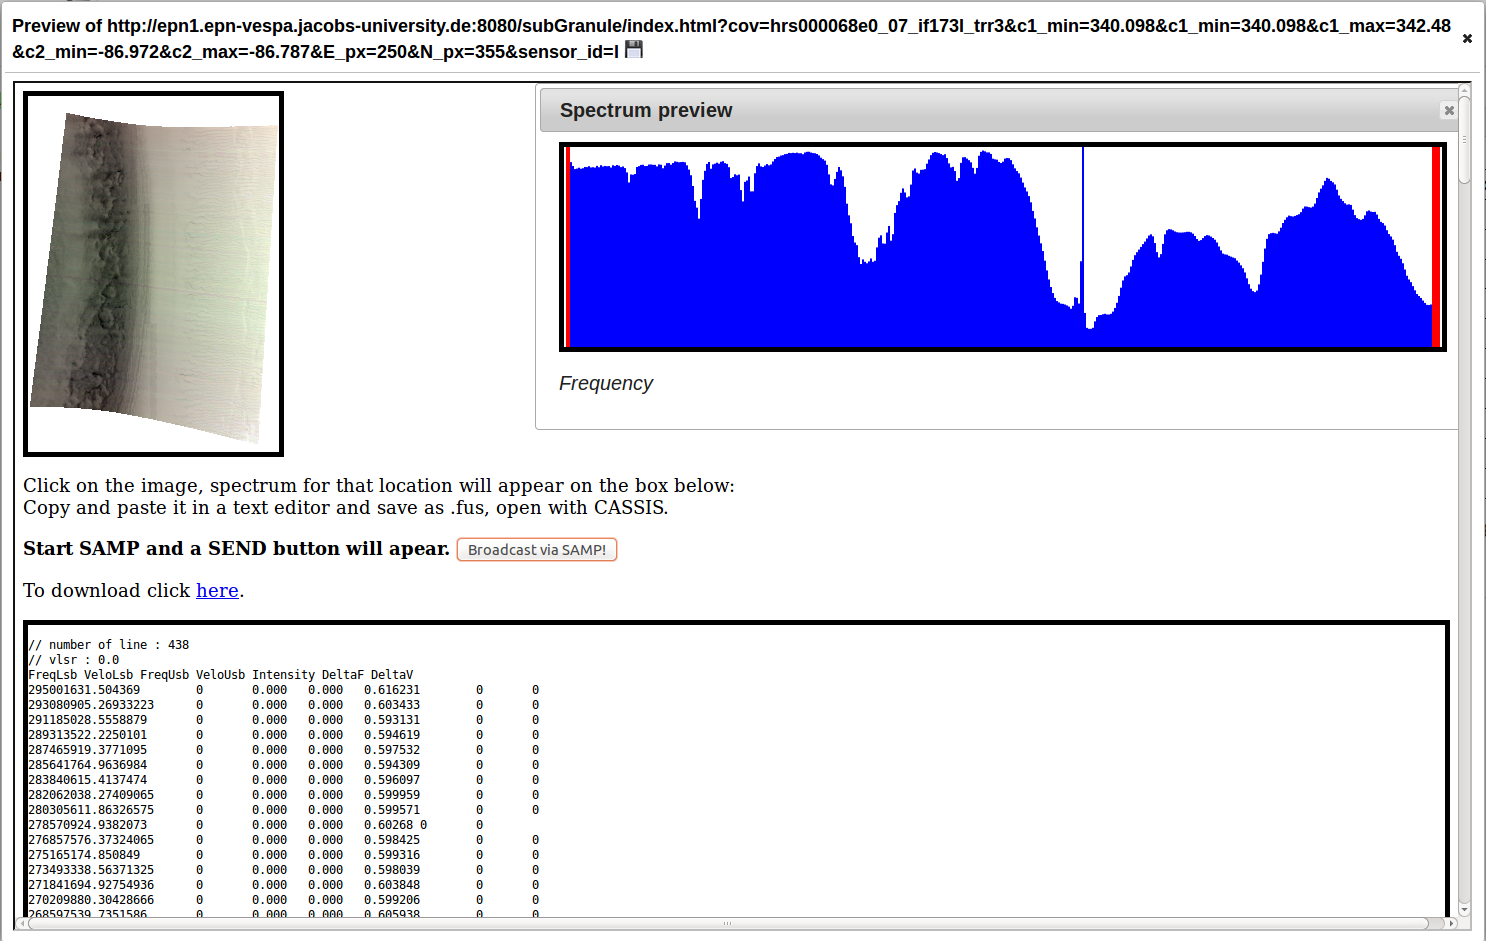
Click "Data Preview" button in "subgranule_url" field
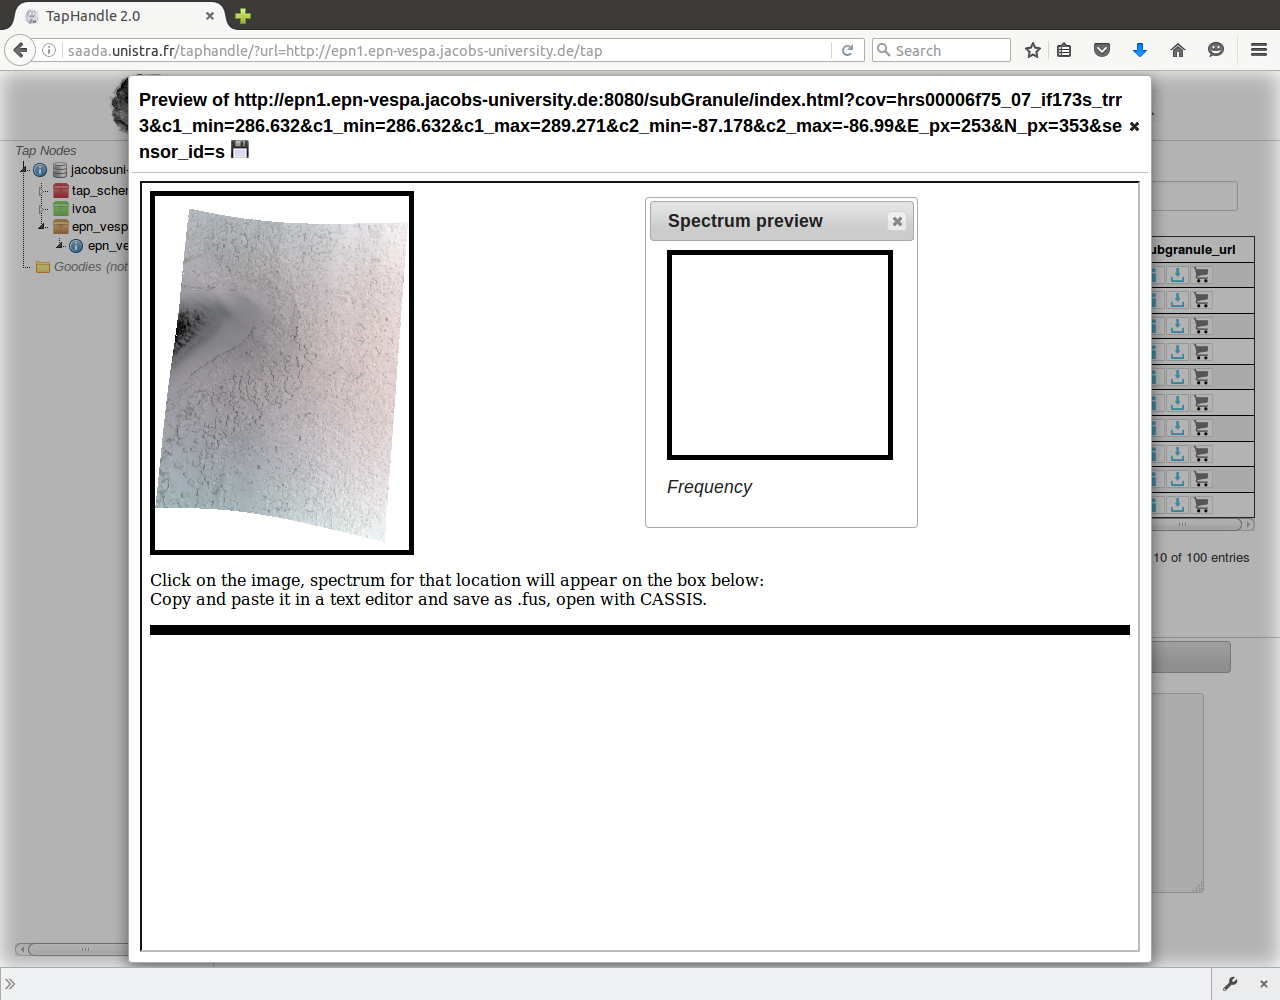
Click anywhere on the image
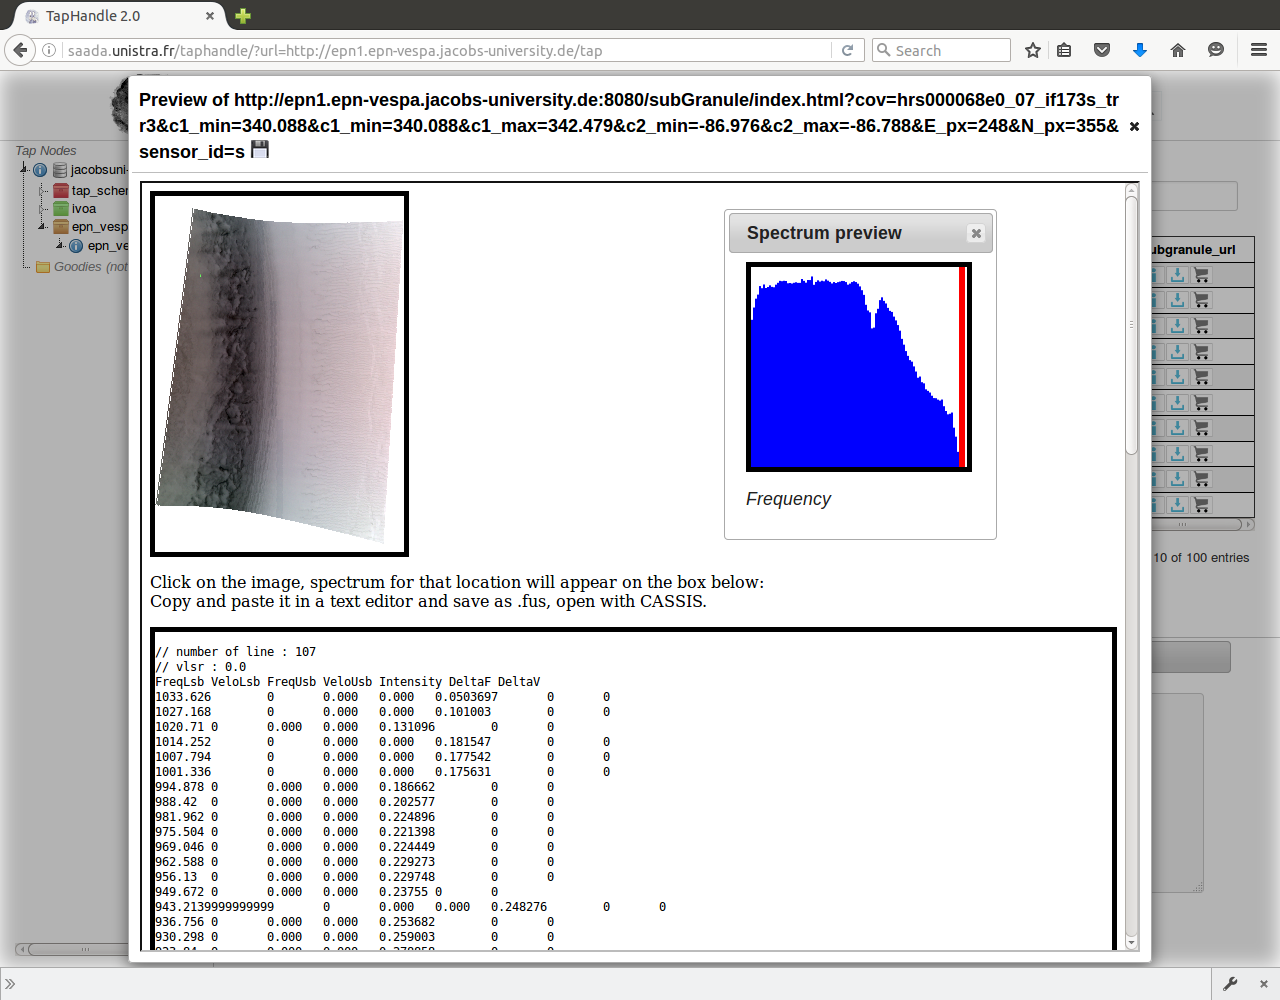
To view in CASSIS select and copy the text on the bottom of the page, save with text editor as .fus.
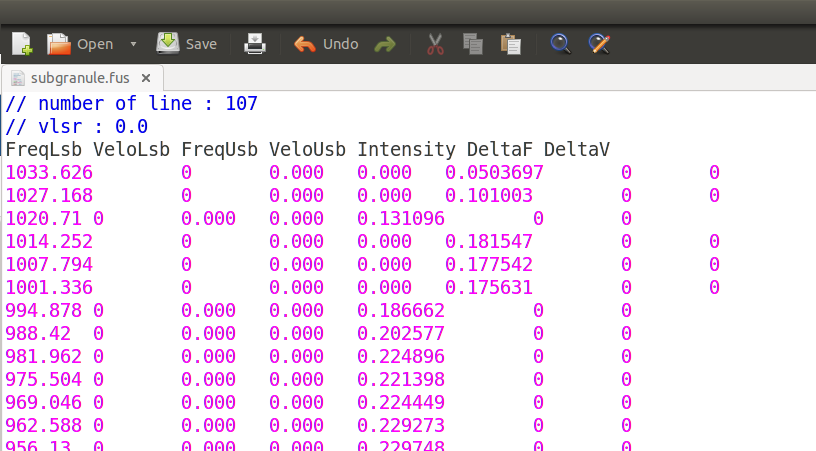
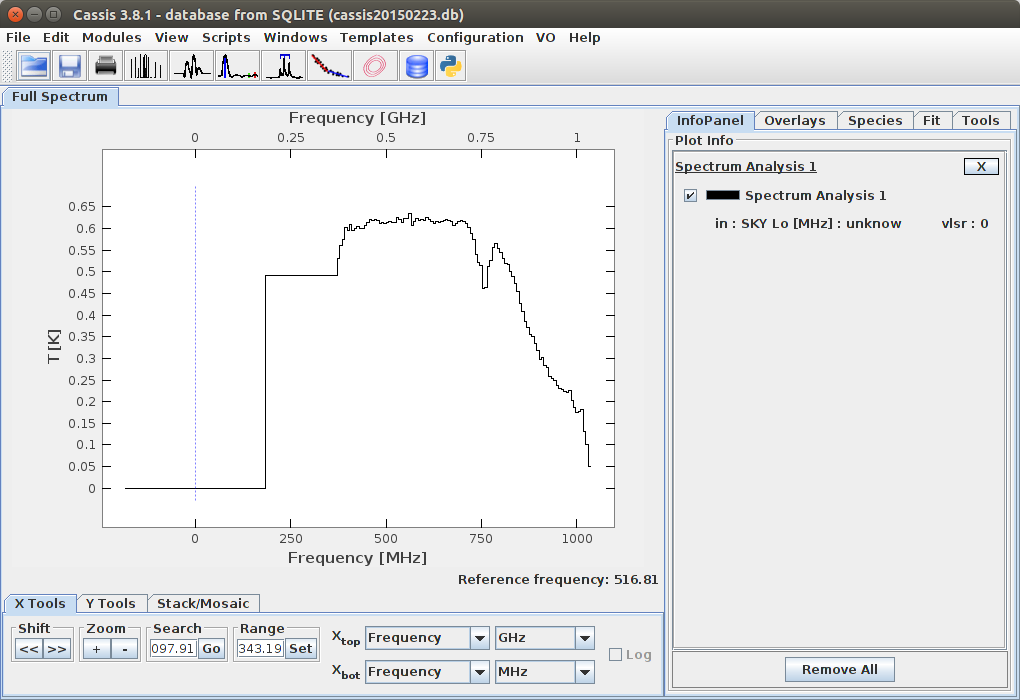
Open with CASSIS
UPDATE: An option to save spectra as .fus, or to send it directly to CASSIS via SAMP has been added.
<img src="https://raw.githubusercontent.com/megadiesel705/tutorials/master/jra-t4-EPN1-CRISM/img/3_Spectra_fus_Update.png" width="500" alt"Spectra fus">
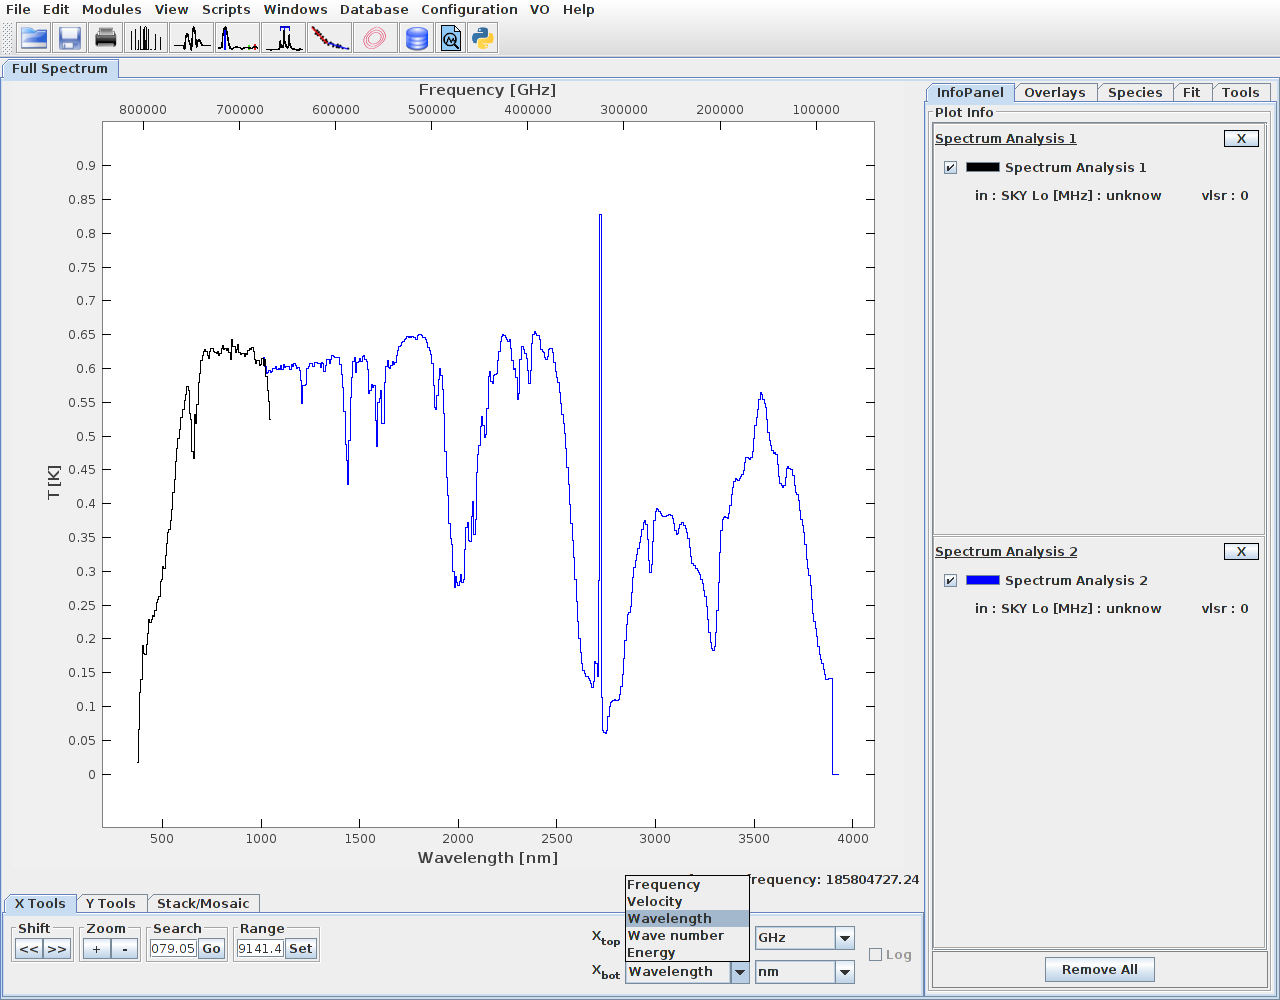
To send via SAMP, first start CASSIS. With CASSIS HUB running the button
"Broadcast to SAMP!" should be visible.
After selecting the spectra, click on the button, the spectra should appear in CASSIS.
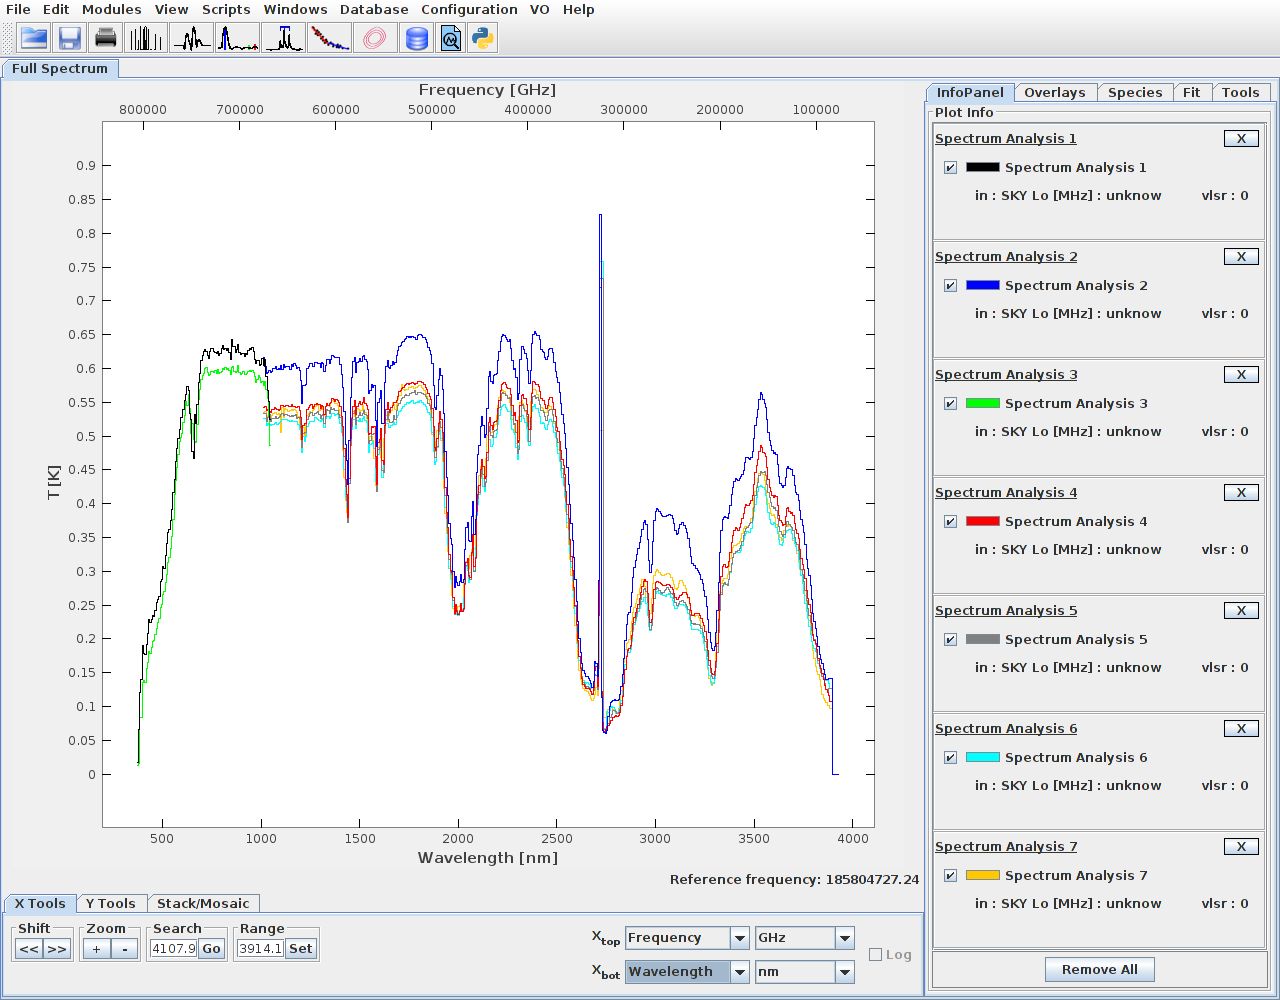
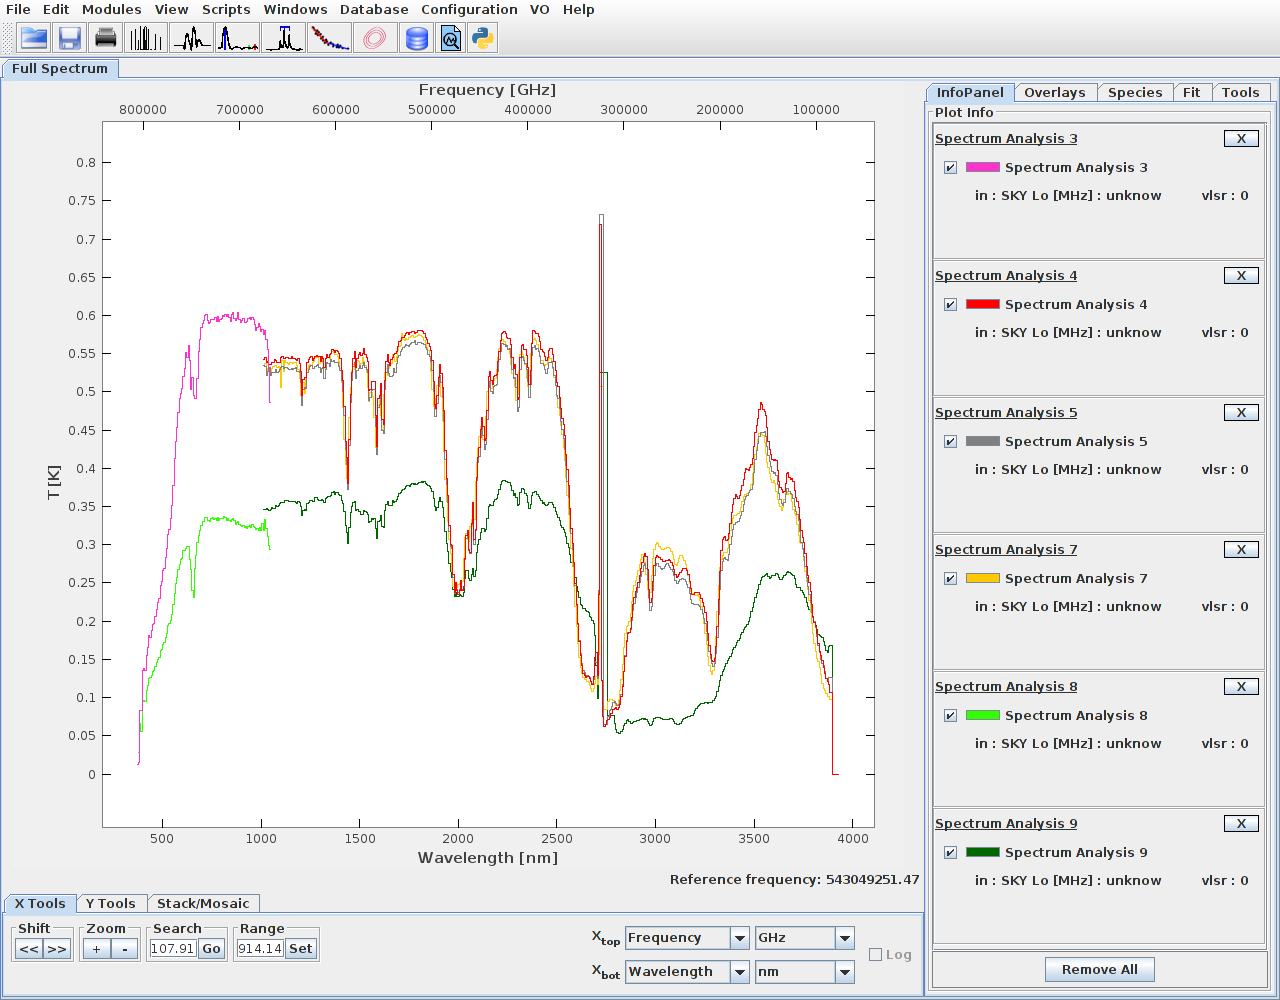
It is possible to send multiple spectra, from the same or different coverages.
This way spectra from sensor L and S can be joined.
The value of Xbot should be set to Wavelength nm:
Please refer this tutorial to original tutorial created by Mikhail Minin on VESPA wiki.